
How to take dark and moody wedding photos: a complete guide (apparently this is what i’m supposed to write, but more like my high-school exam output, it’s probably more the “enough to get by, hopefully” guide).
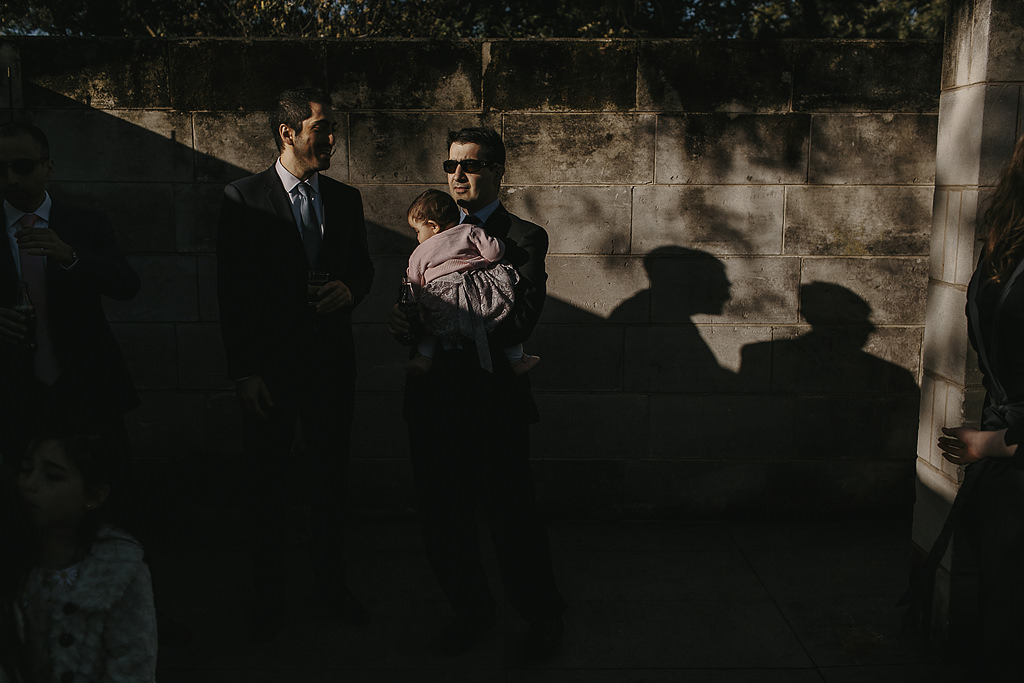
Something i’ve always loved to do is find ways of photographing things in a “moody” way no matter what the scenario. Usually though at a wedding, these sort of images end up representing about 10-15% of what the couple receives, because the “dark and moody” stuff in reality only ever represents a small percentage of a wedding day.
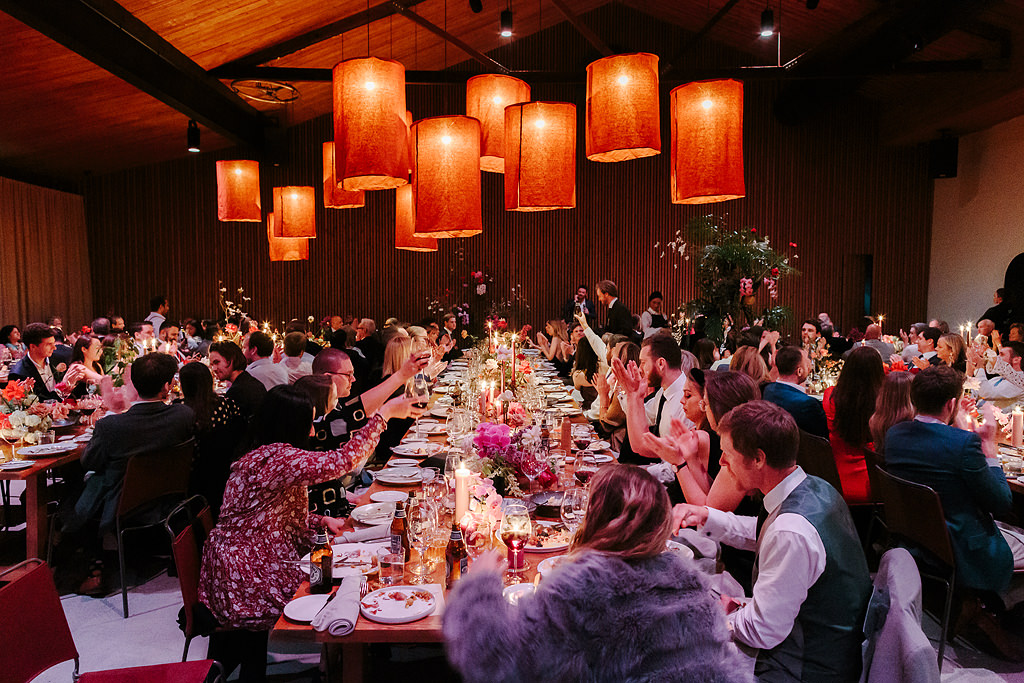
Typically it’s areas like moody preparation rooms, or sometimes indoor receptions with natural light, that sort of thing. Regardless, they’re super fun to make, and nice to celebrate.
Why make dark and moody wedding images?
Weddings are joyous! Full of fun and confetti! Why would we try and imprint some Tarantino, Wes-Anderson-esque painterly vibes into something supposed to be uplifting? WELL.
What qualifies as a moody feel can be just as uplifting as the bright stuff in it’s own way, and it can channel a whole lot of other ways of connecting to the set of images that we deliver. My job is to generate the widest amount of emotional connection with the images as I can. That means tapping not just into the bright stuff, but also providing some images that nudge our brain into another direction, because all of those moments and moods are present somewhere on a wedding day – and we might as well show them for what they are.
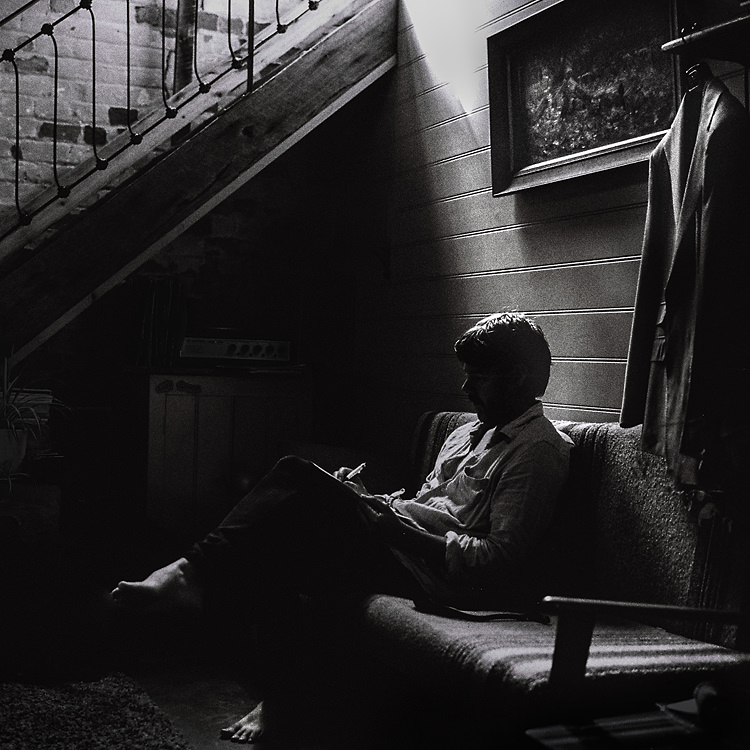
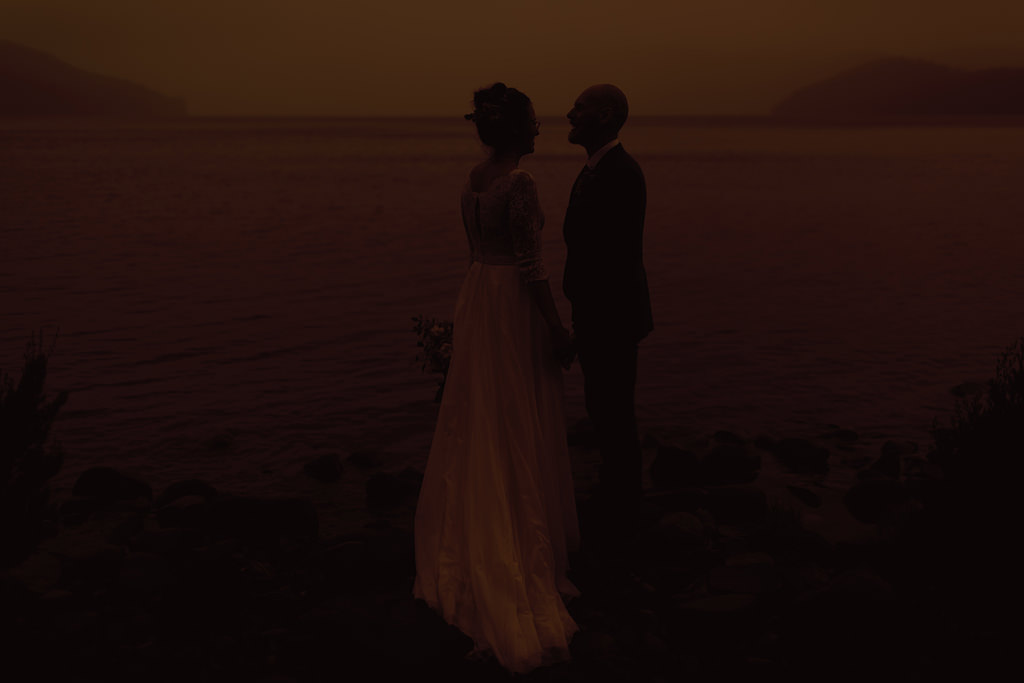
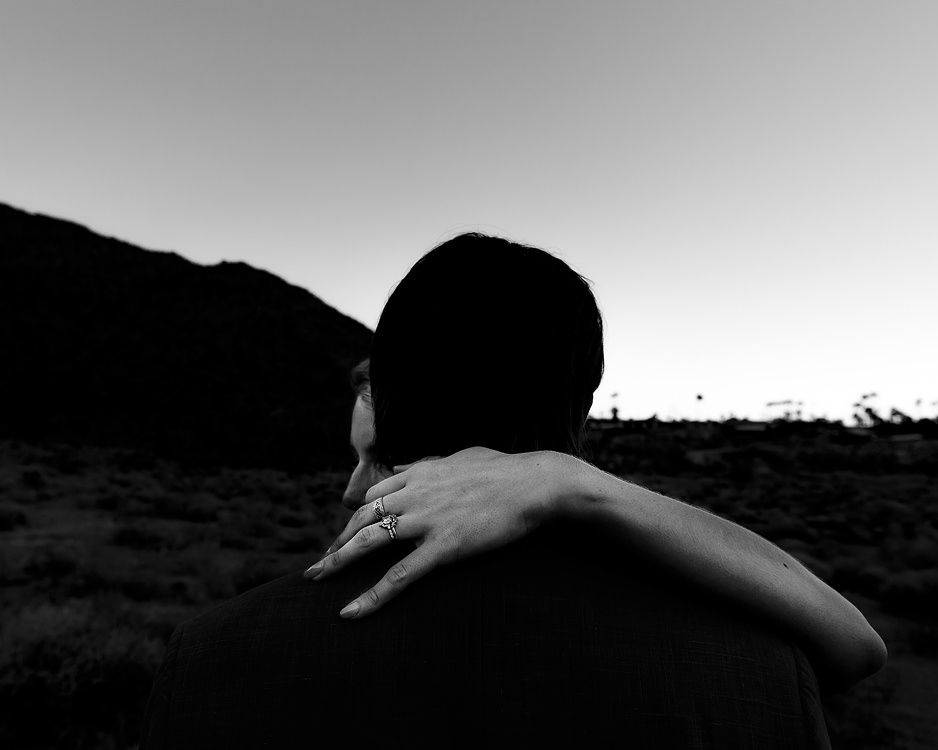
So, my approach to dark and moody: photograph things as they are!
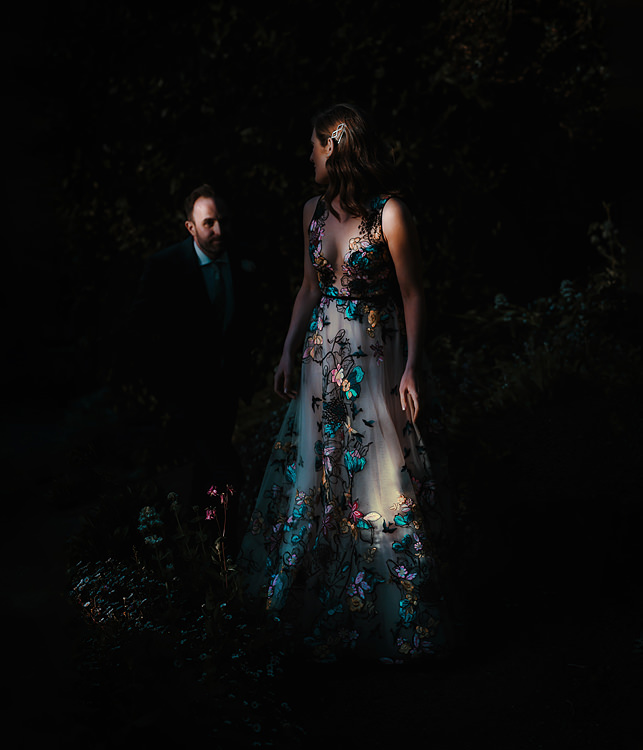
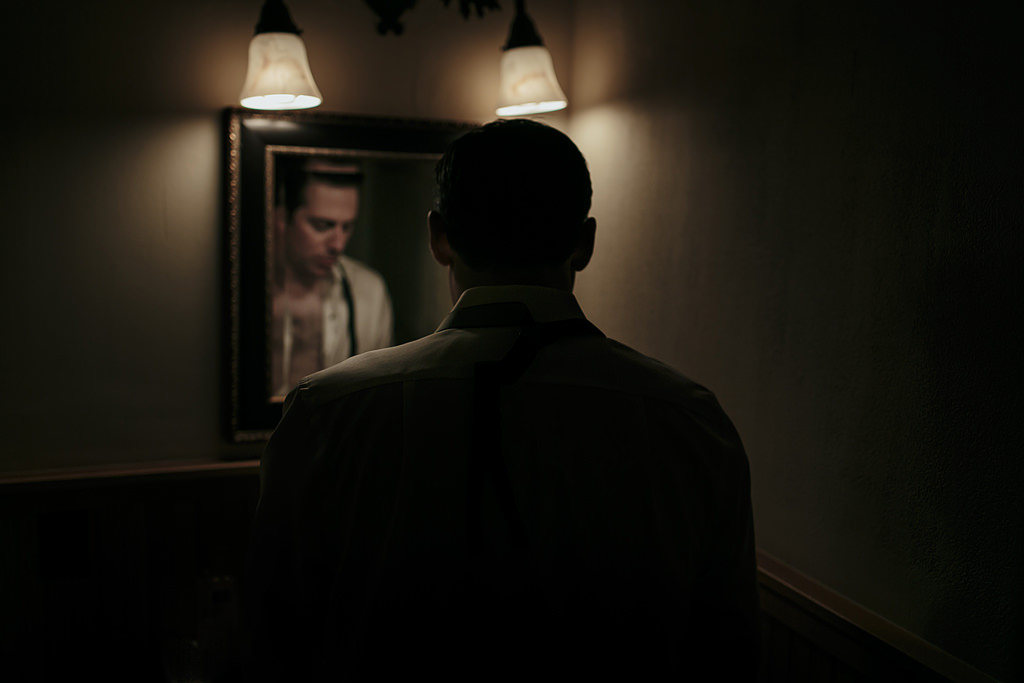
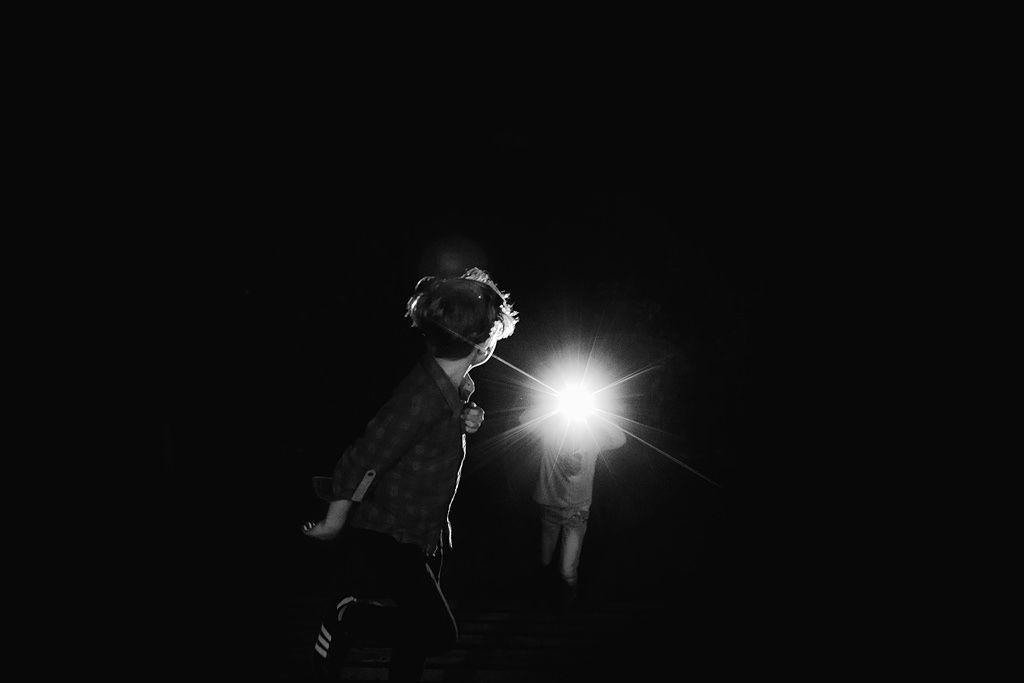
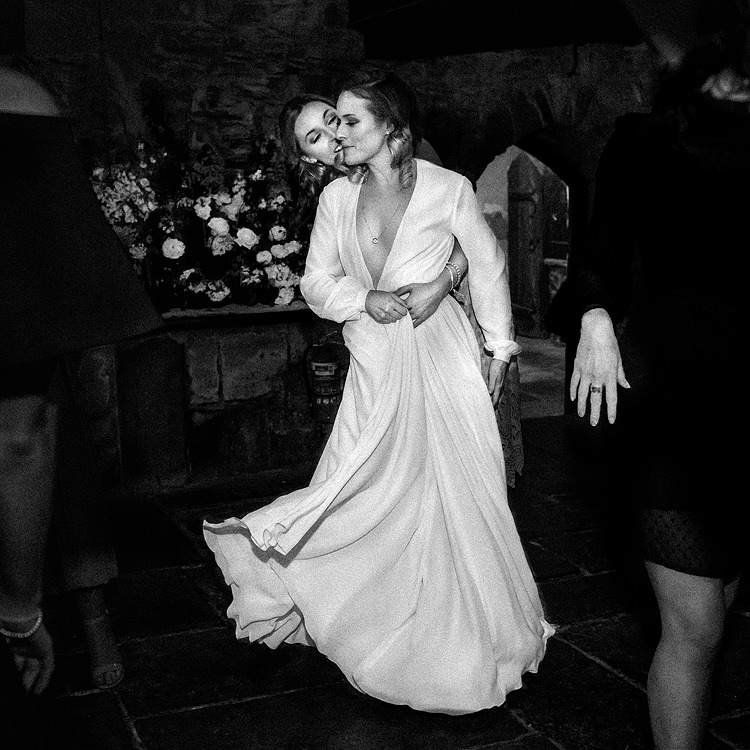
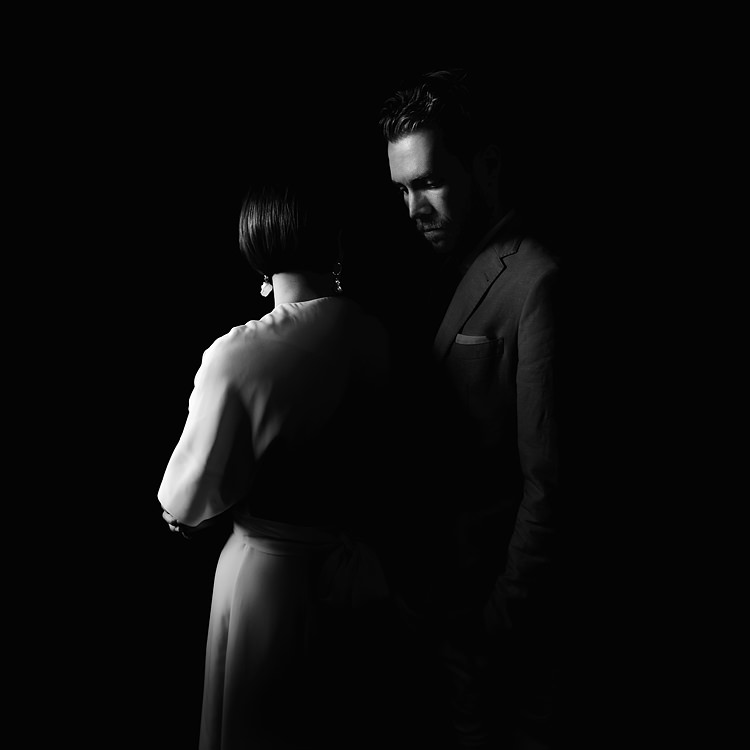
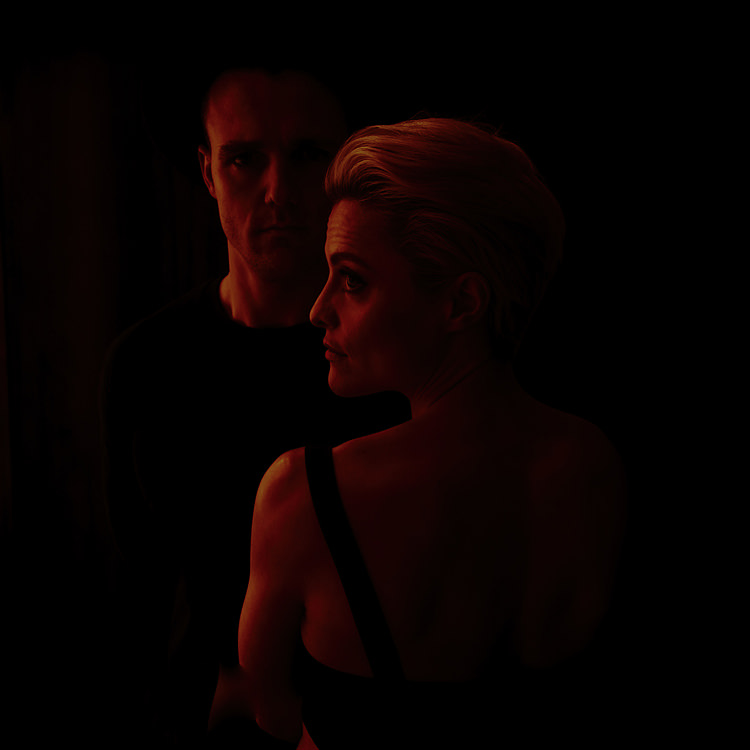
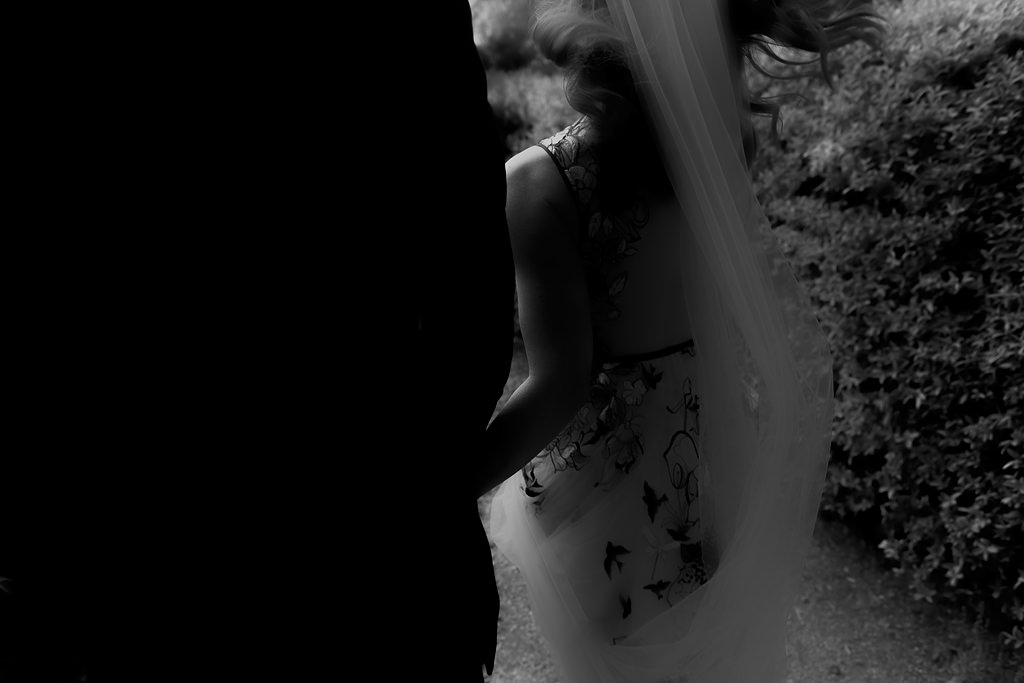
If something feels dark and moody, I want to photograph it that way, and edit it in such a way that the qualities of that feeling are brought out in the best way. If someone tosses charcoal-coloured petals in Gollums cave lit by a line of candles, then it’ll be moody. But if theres a bright petal-toss with colours and glory, that should also end up looking as it felt.
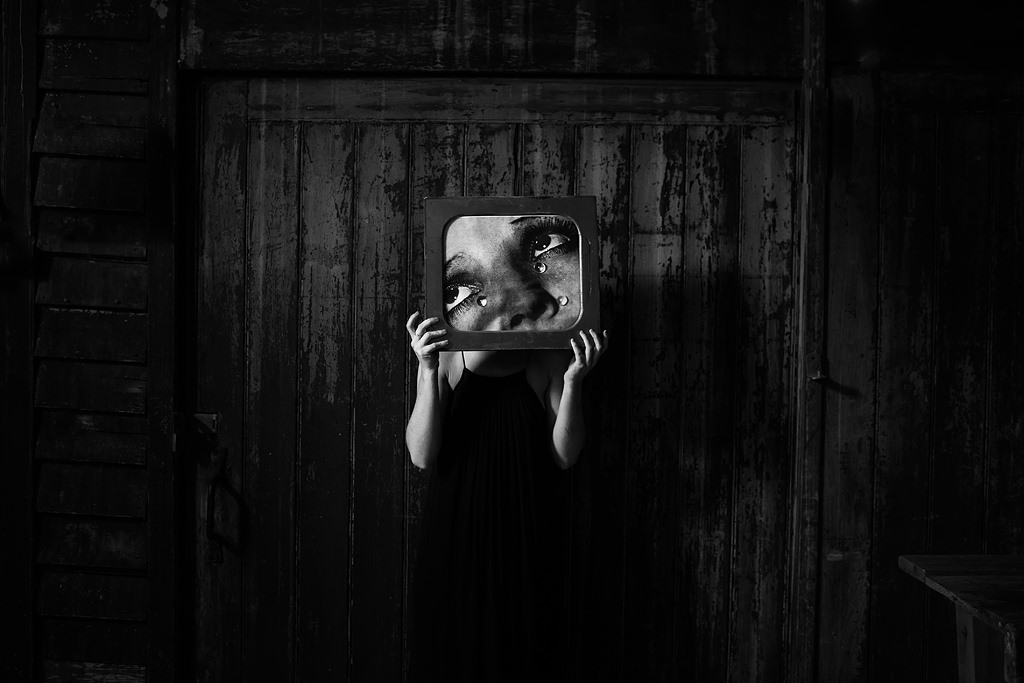
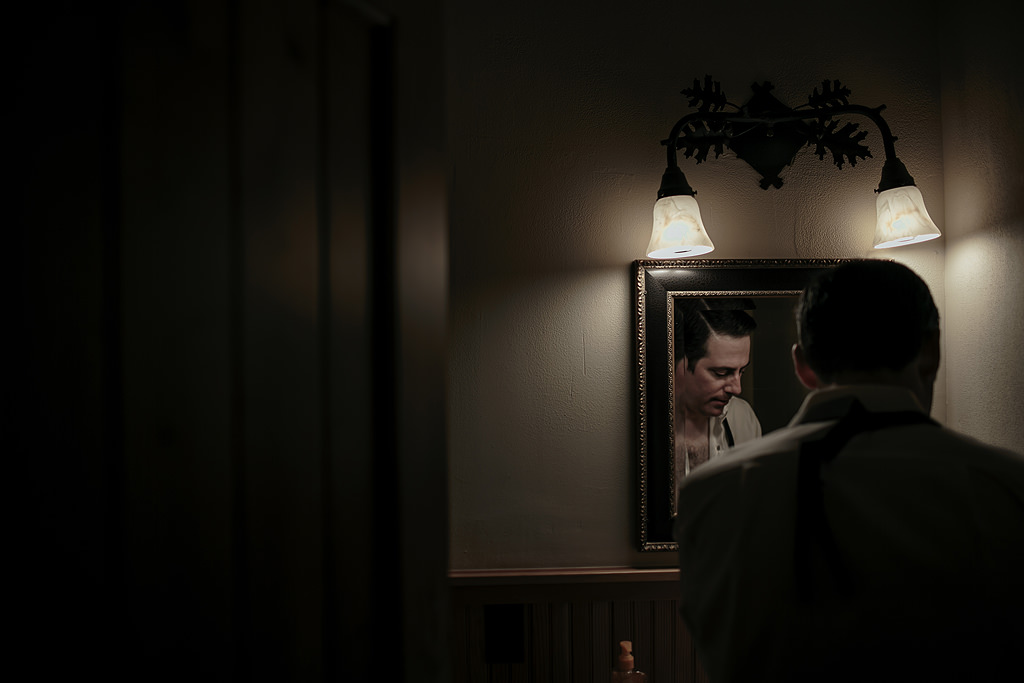
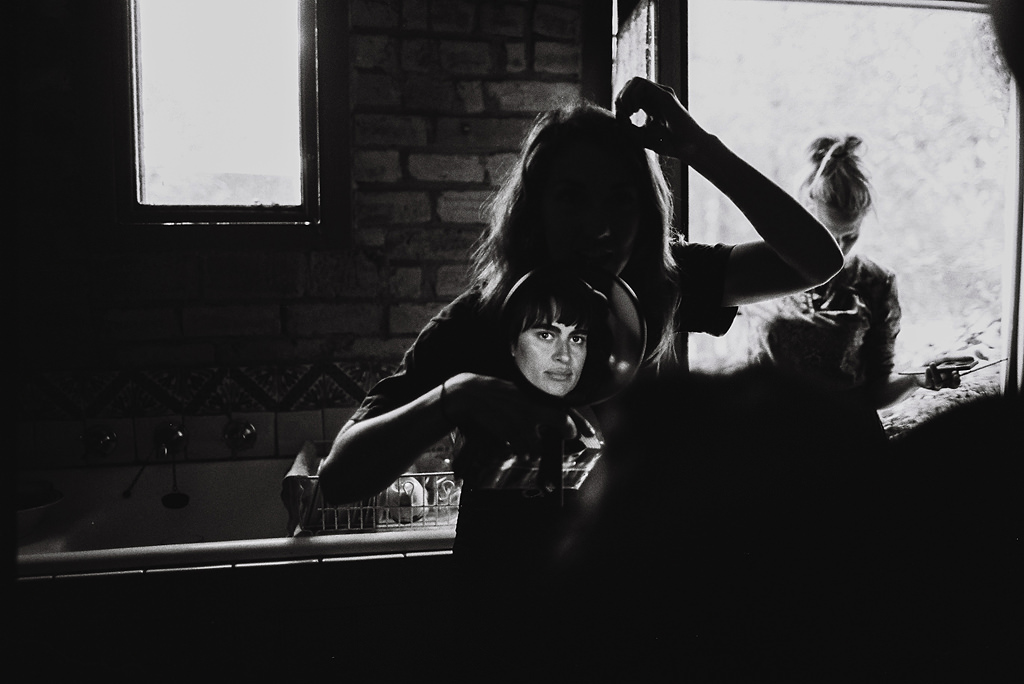
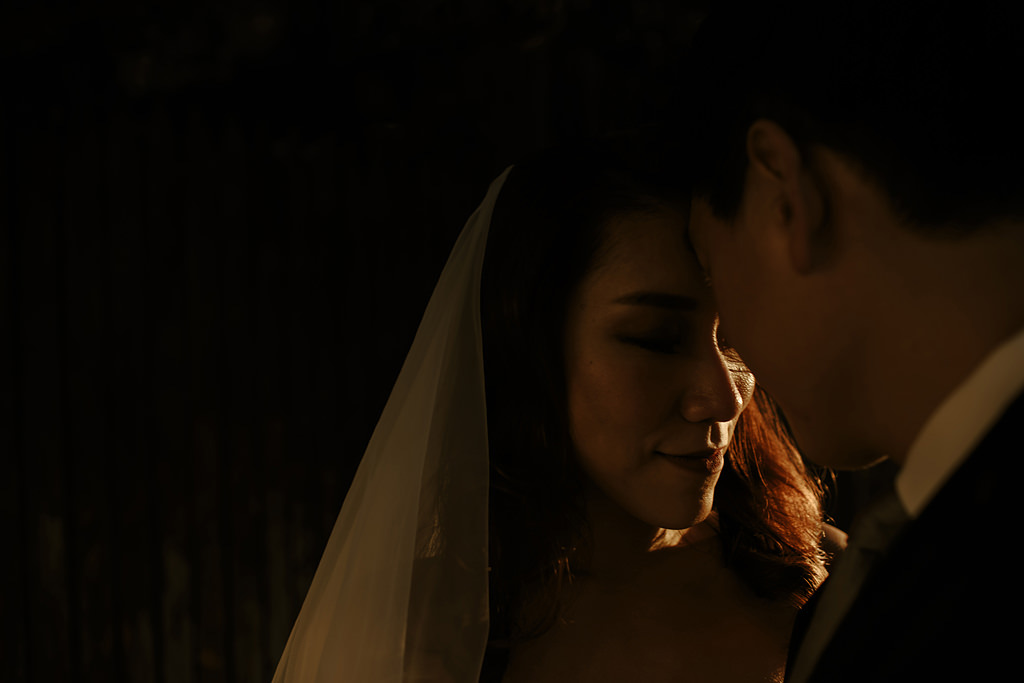
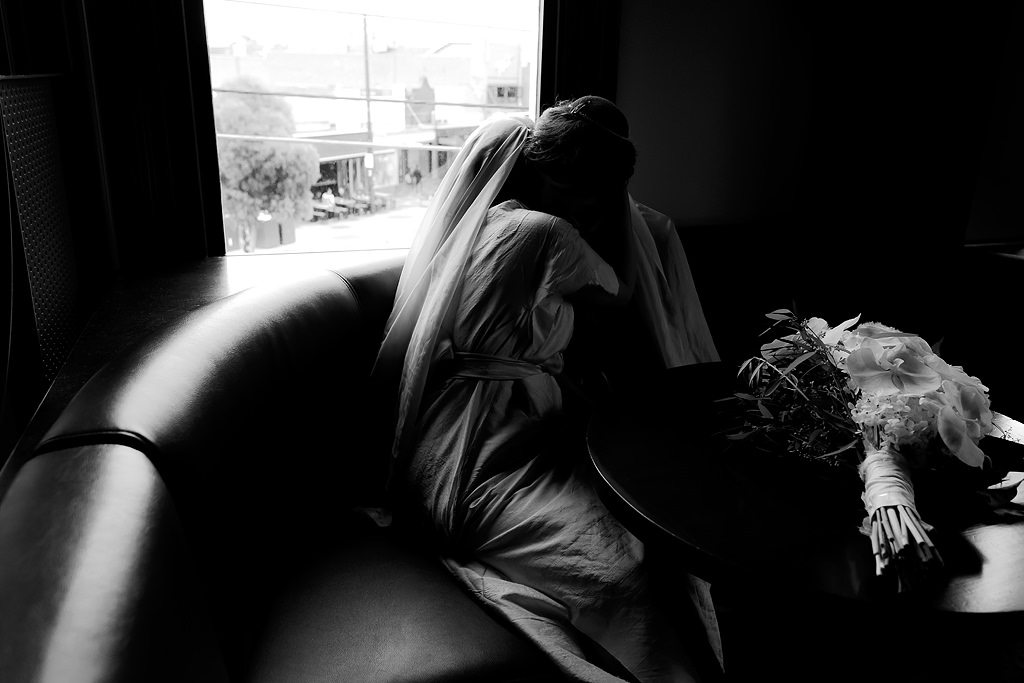
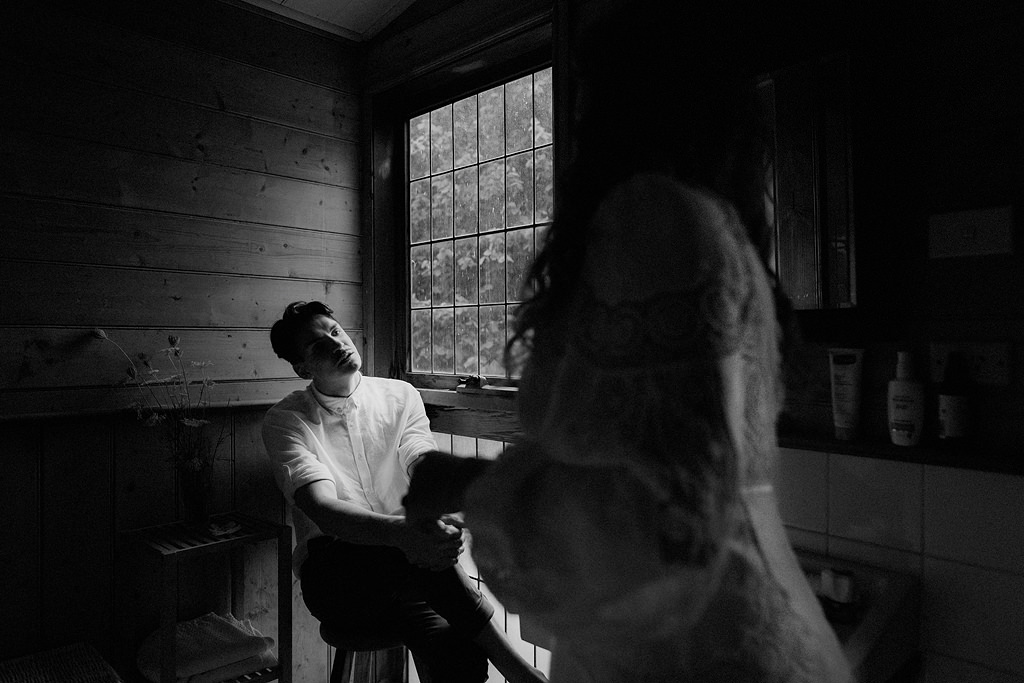
In this shot above, two single points of natural light in a bathroom made for a beautiful soft vibe, and the real thrill is making that come alive in the image.
If changing an image, change it gently: see this post about editing.
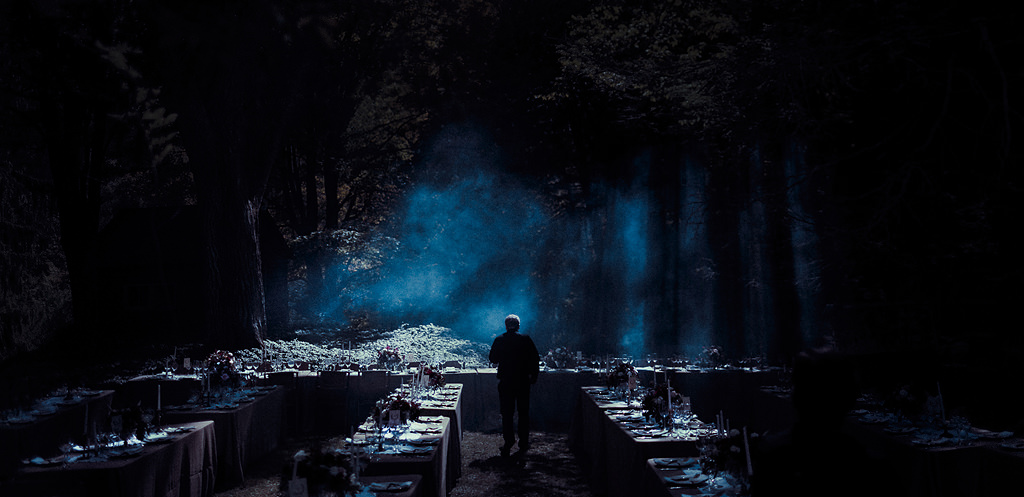
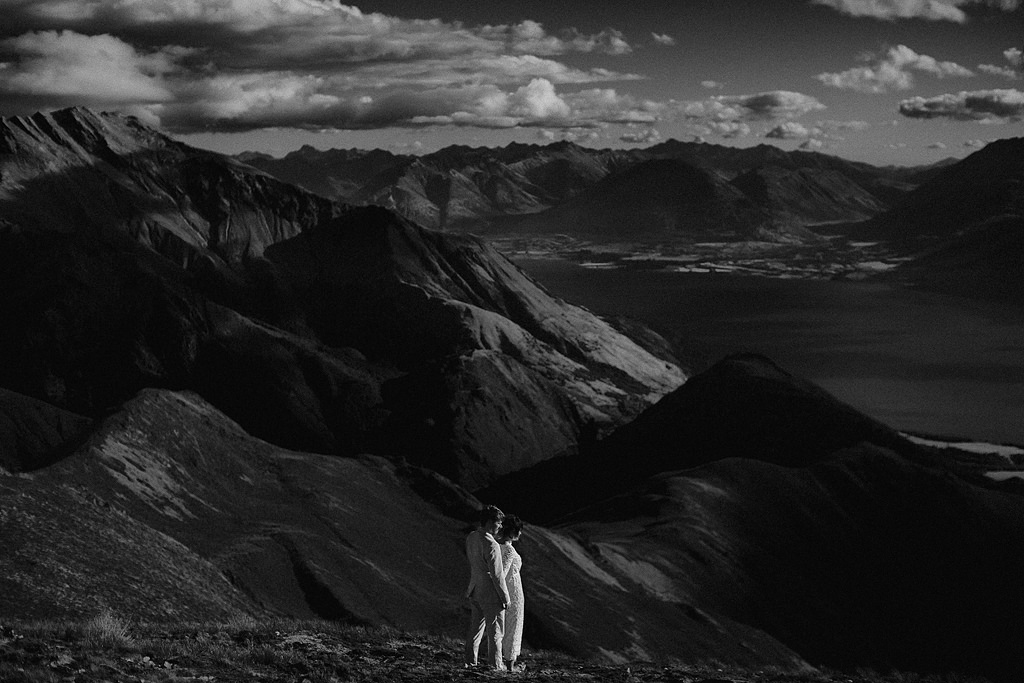
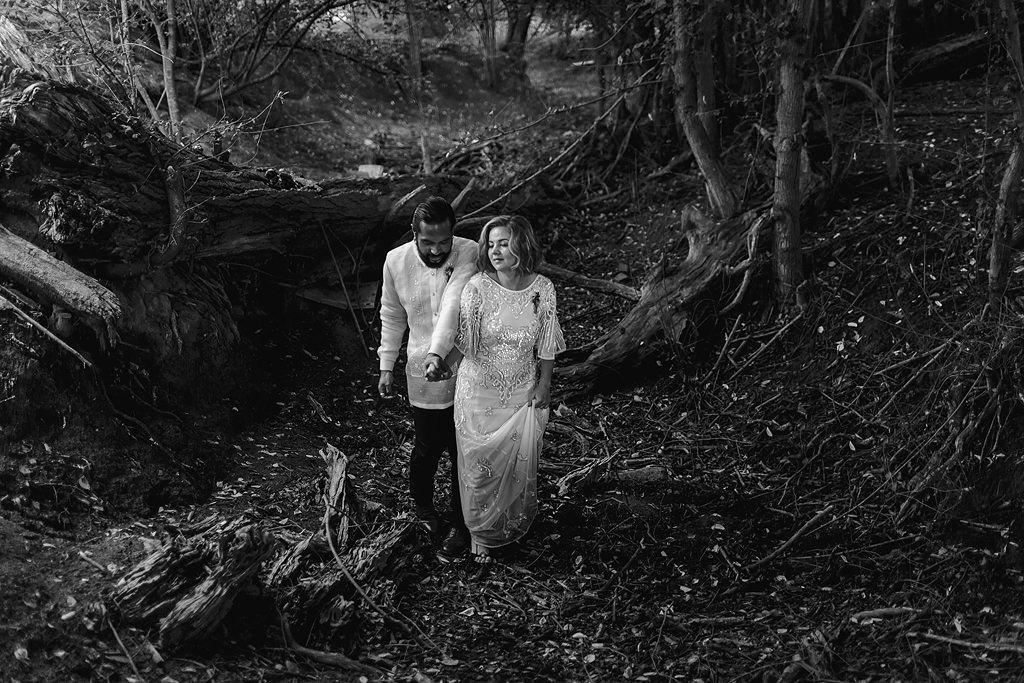
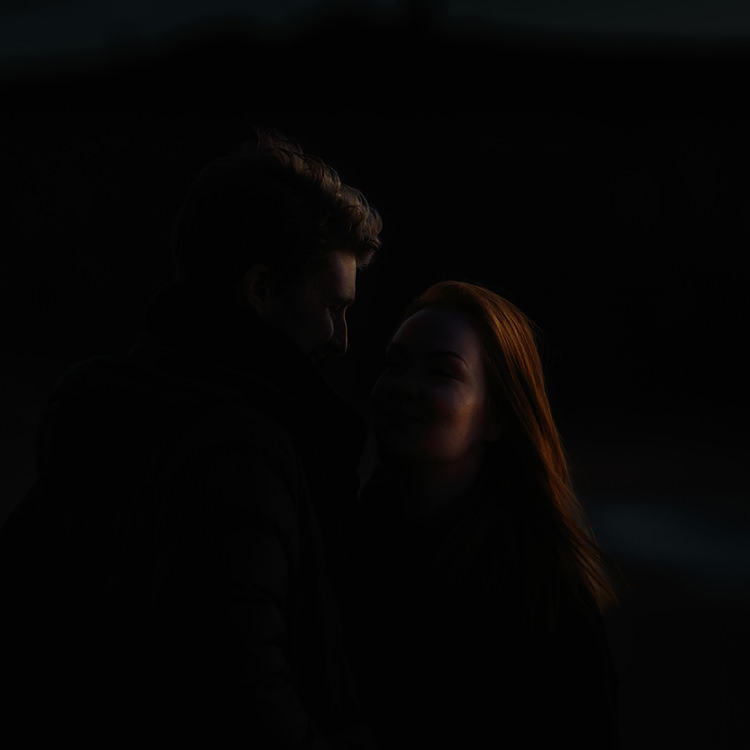
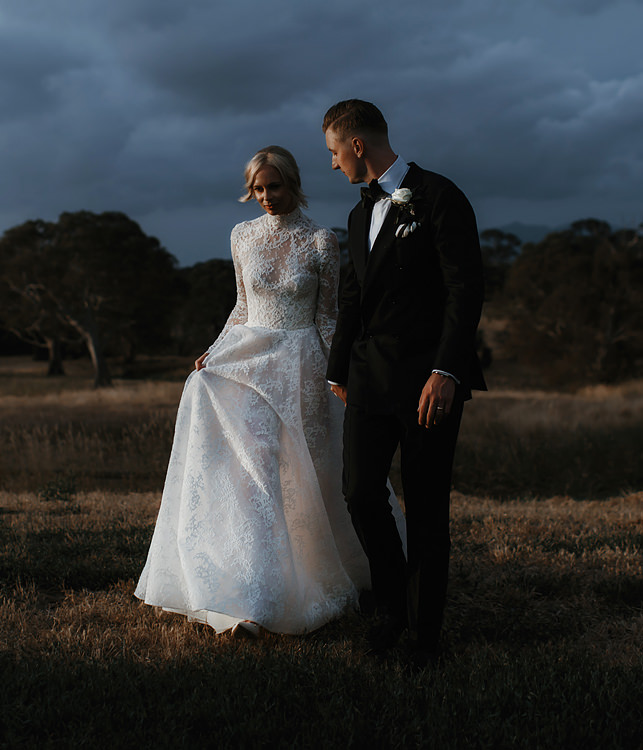
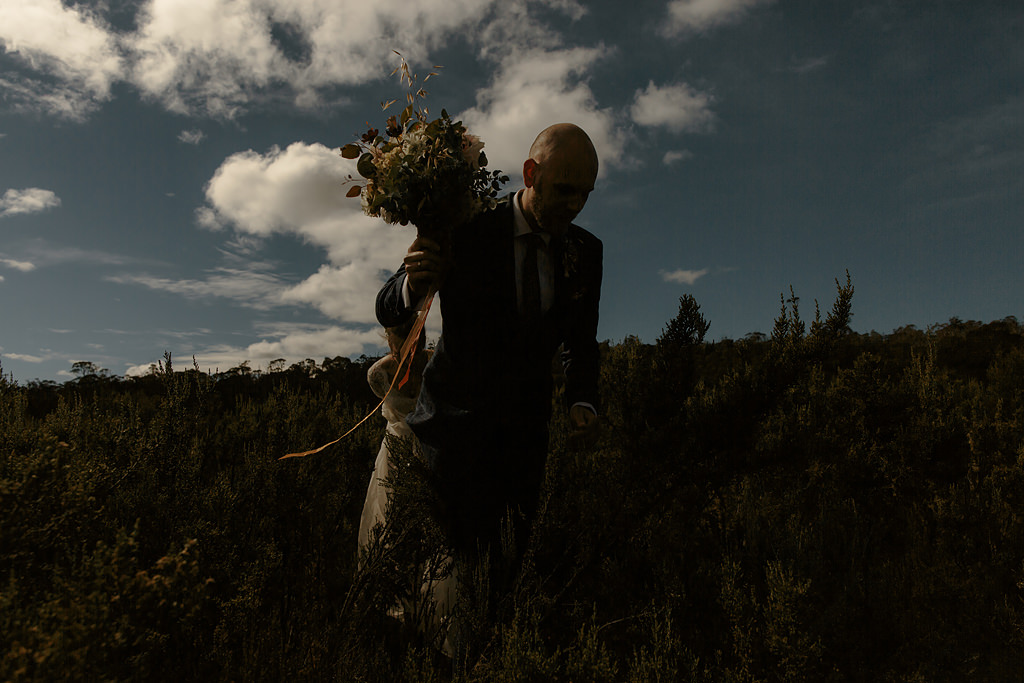
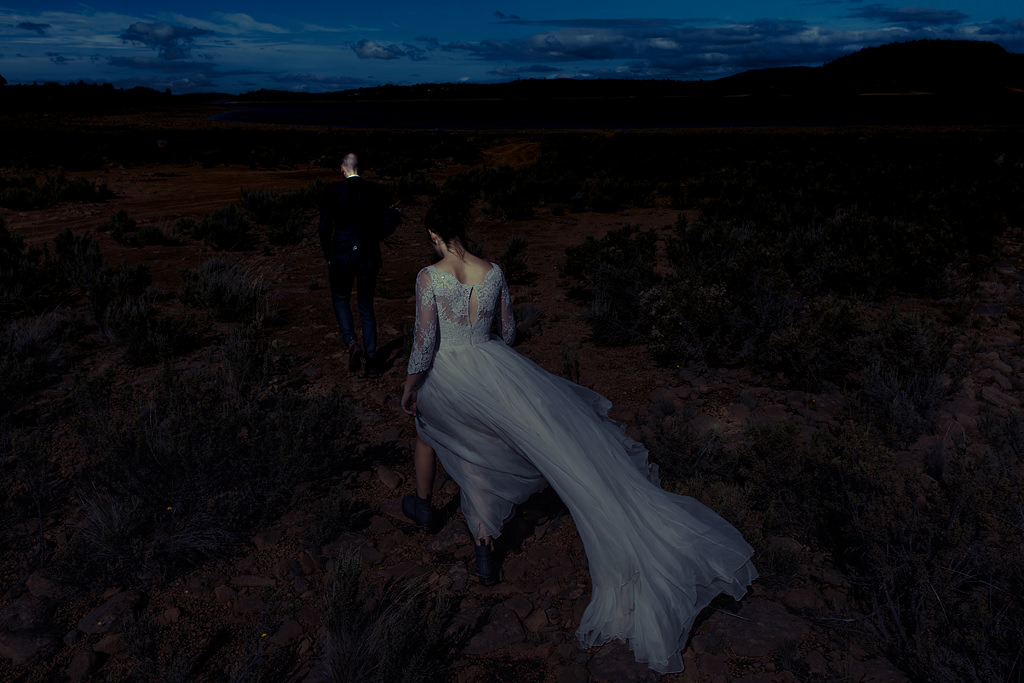
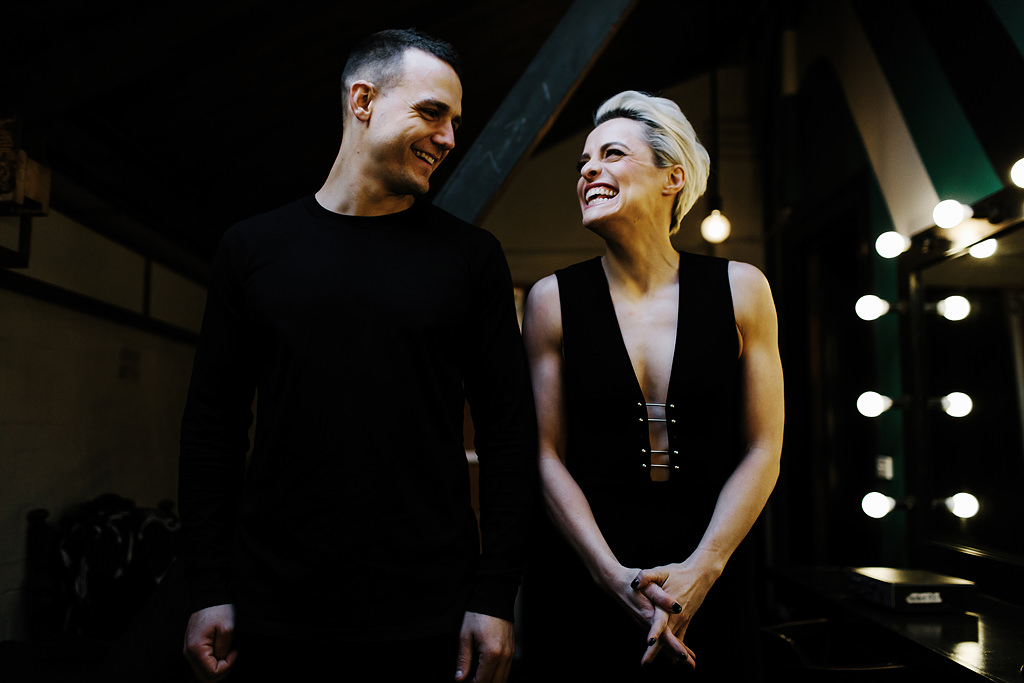
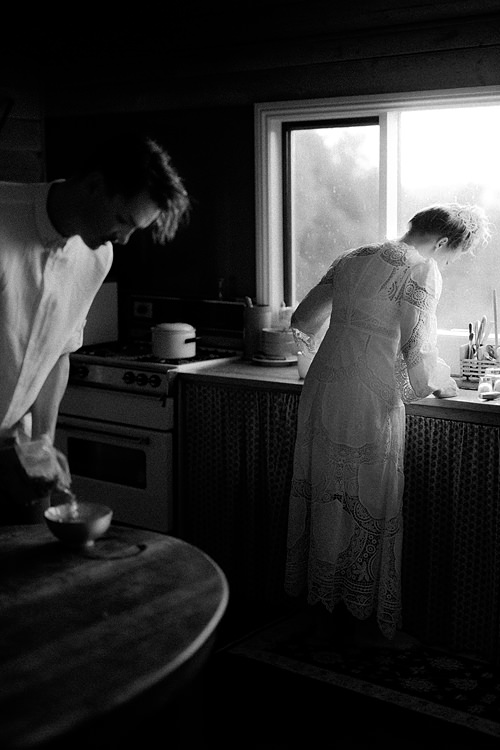
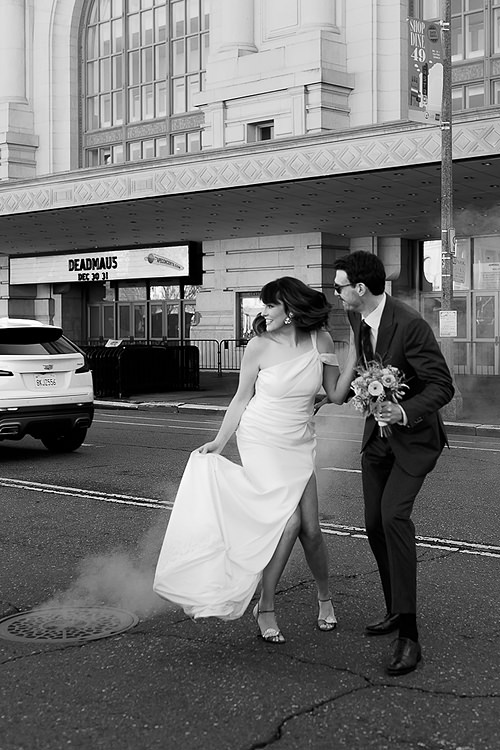
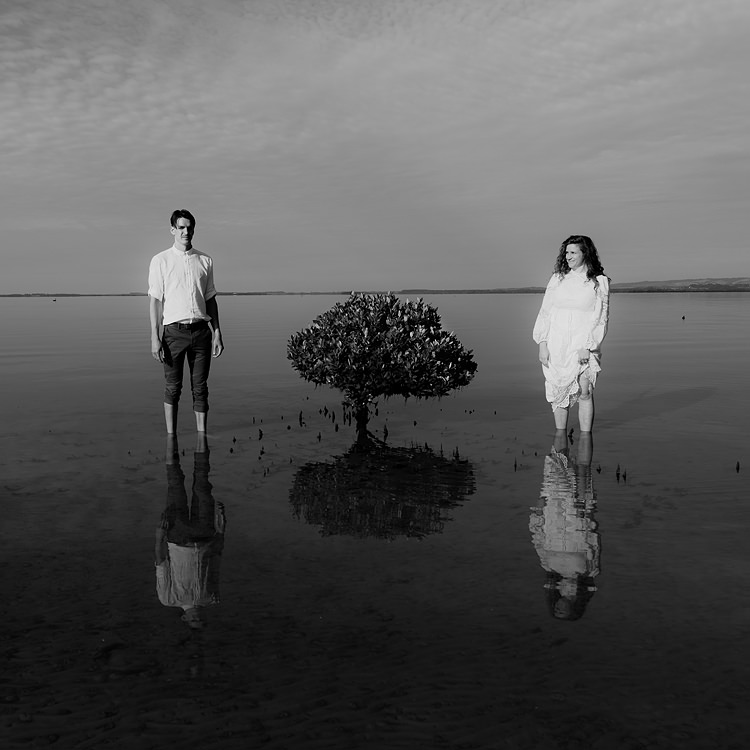
I wanted to use a photo shoot with Dan and Dre as a main example, who flew down from their hometown of Canberra to have a play over a couple of days for their couples shoot, in some of my favourite locations in Victoria (see these other favourite Melbourne wedding photo locations) as an example.
Before we crack on, this thread on Reddit is worth a look, as it highlights a common misunderstanding of what dark and moody is, and how it can be interpreted as a trend, which is a bit of a misnomer that we can say about anything, and kinda implies there’s a “right” or authentic way of making an image. If we go deep into the real esoterics of photography, pretty quickly we discover there is no such thing as authentic capture: not only that, but the rich, hazy, beautiful colours of overexposed Fuji film for example, look nothing like reality: just a (really pleasant) interpretation of it.
So everything is a trend, and everything isn’t: the key is to nail the vibe in a really careful way, sympathetic to point #2 below: we want our folks in the image to love themselves in it.
How our eyes interpret light, differs from the person next to us. How theirs interpret light and mood, differs wildly from insects and other animals. photography is an act of interpretation, not a way of “taking something as it is”.
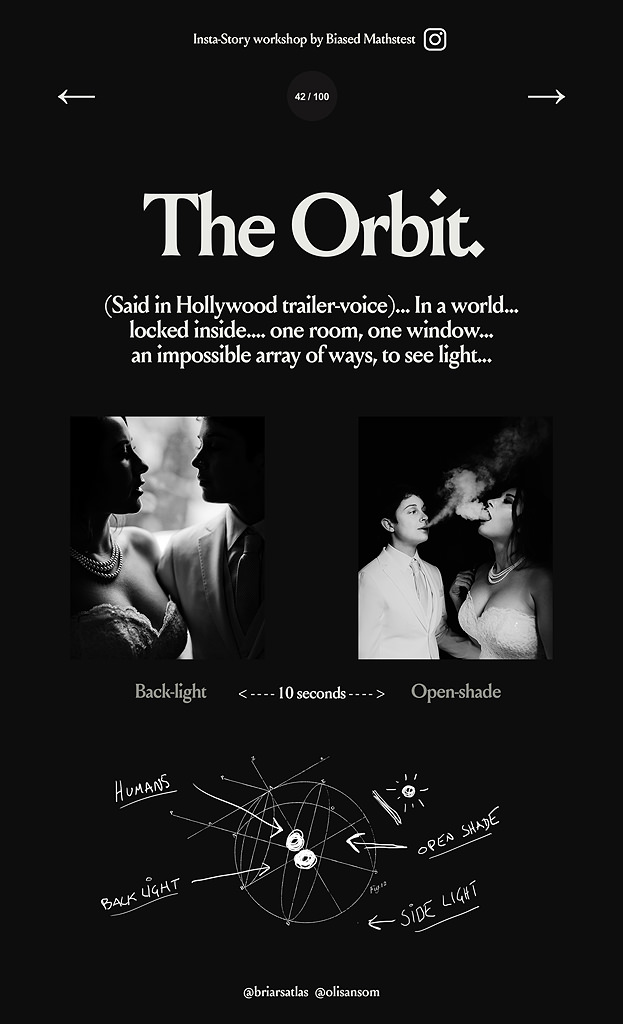
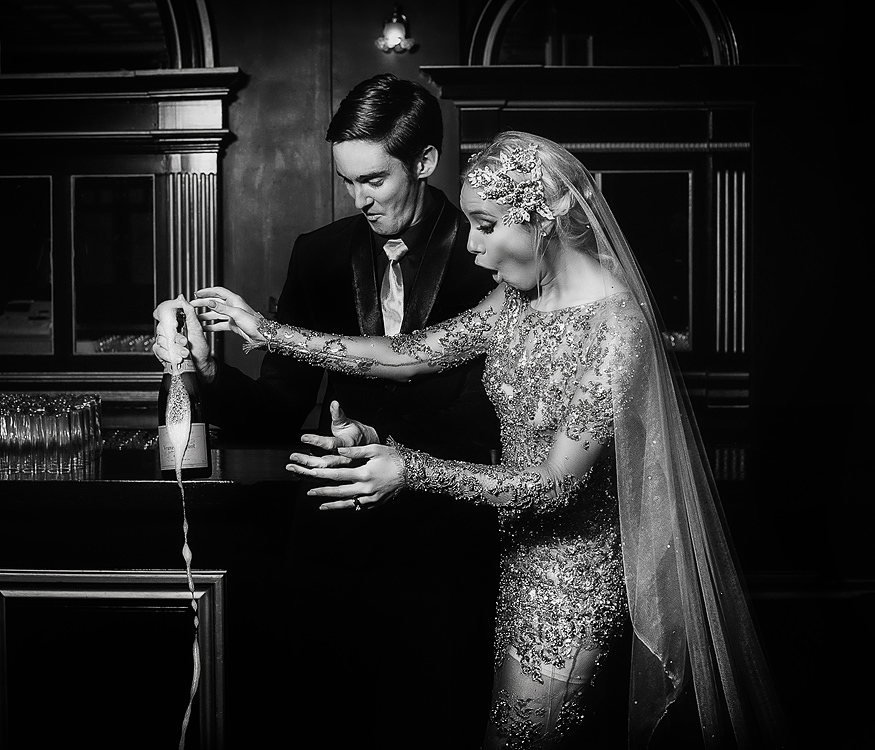
The images in here mostly use chiaroscuro, and open-shade.
My tips for creating dark and moody wedding photos
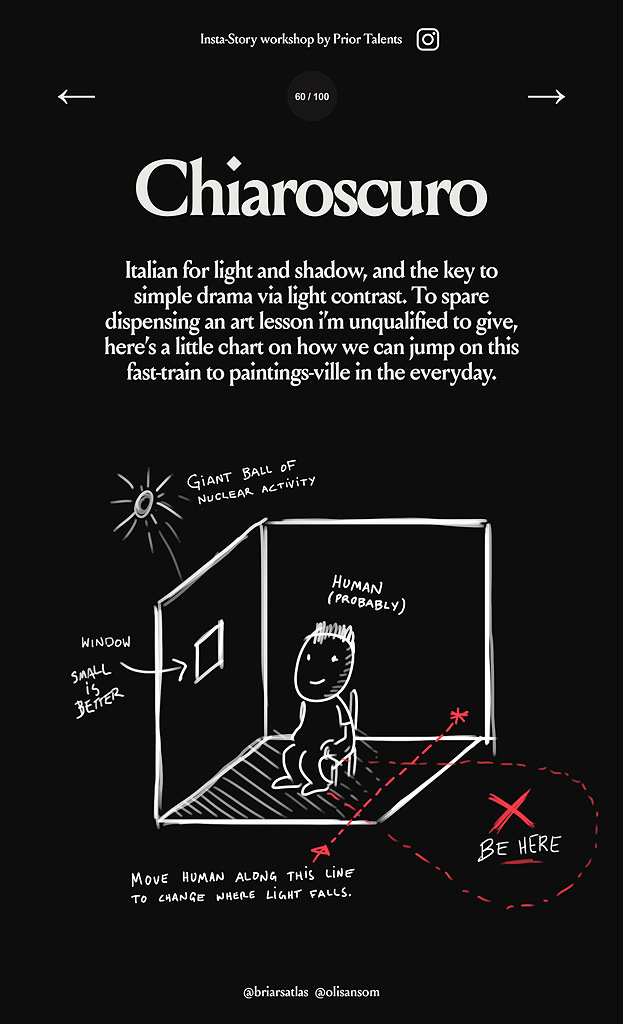
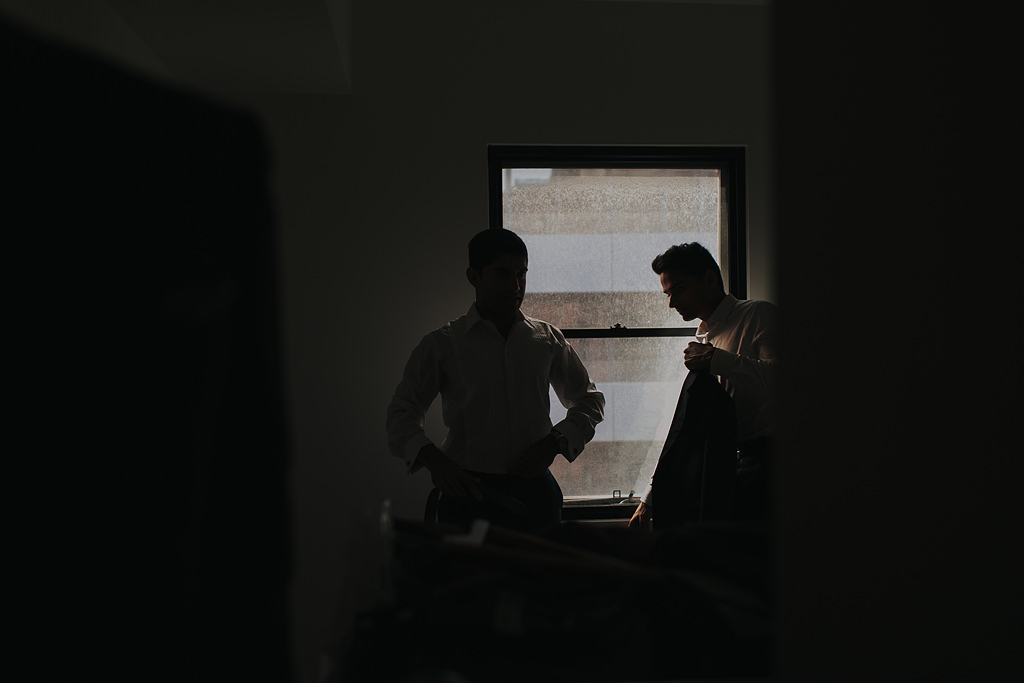
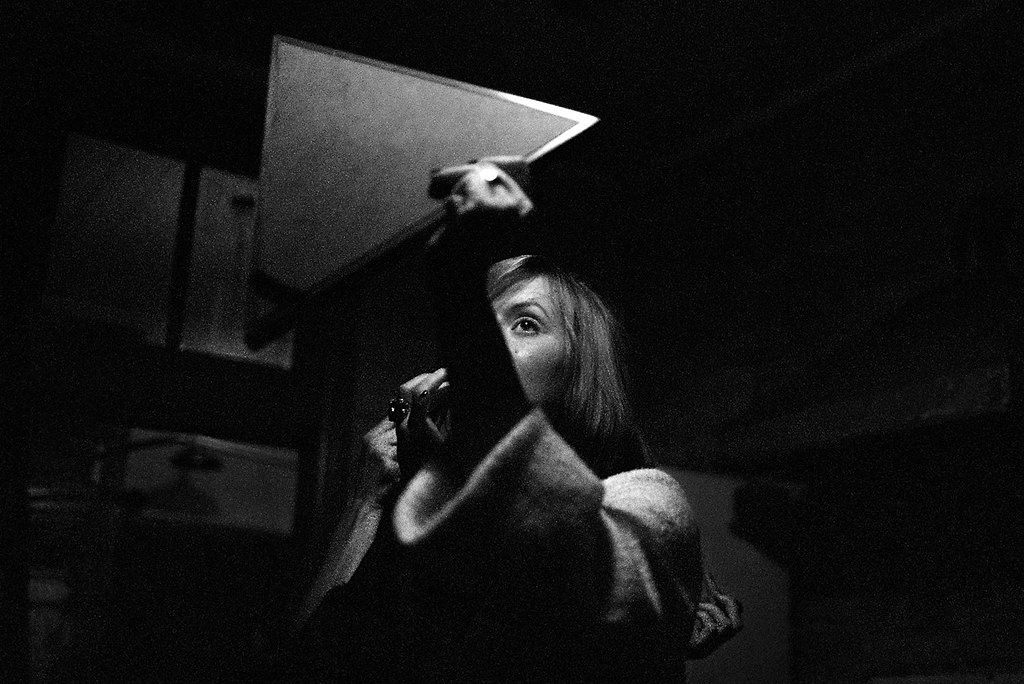
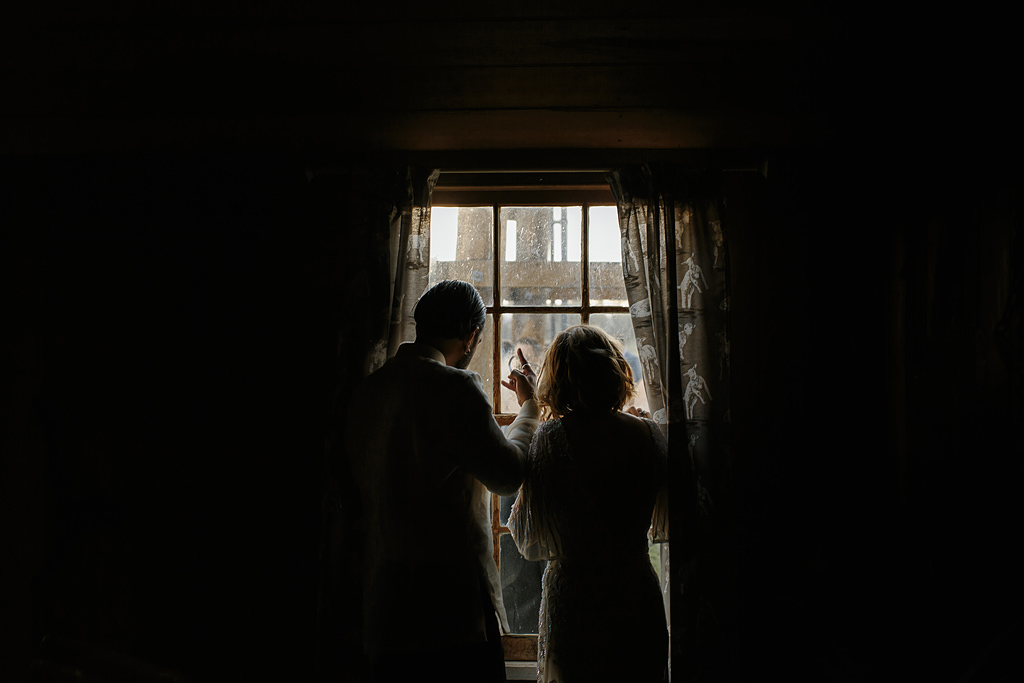
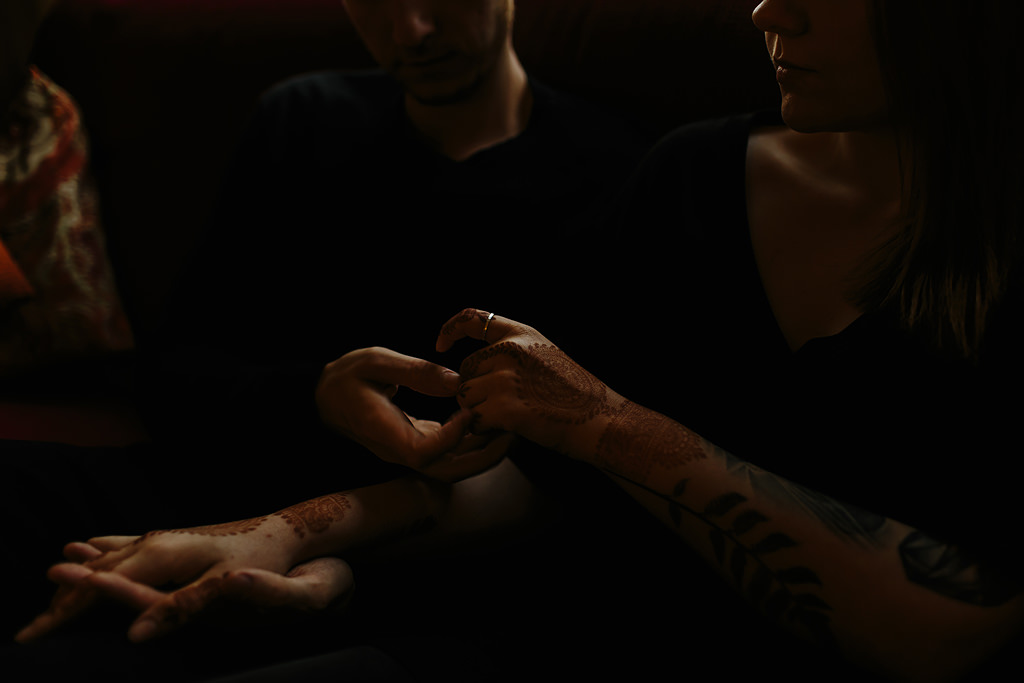
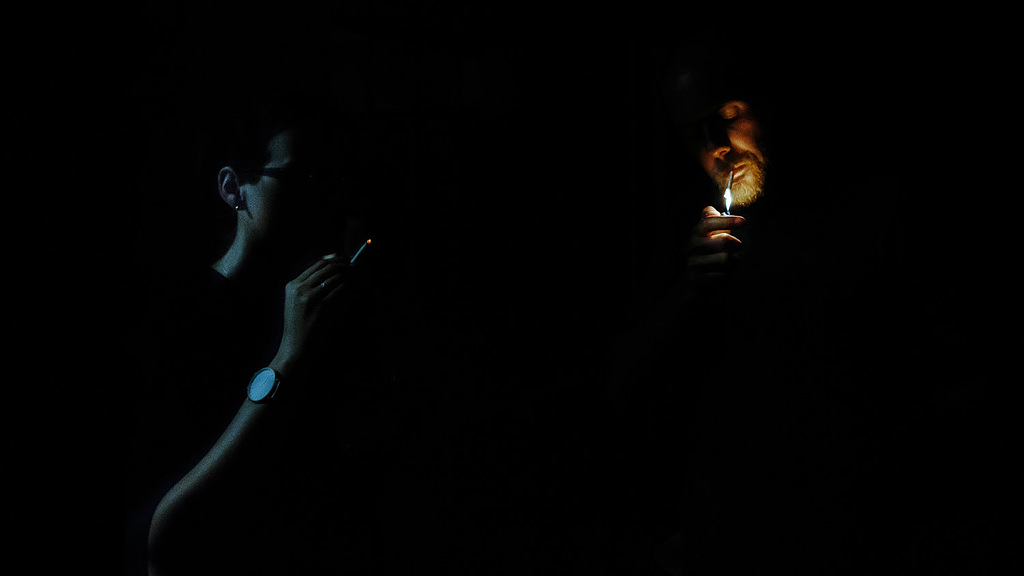
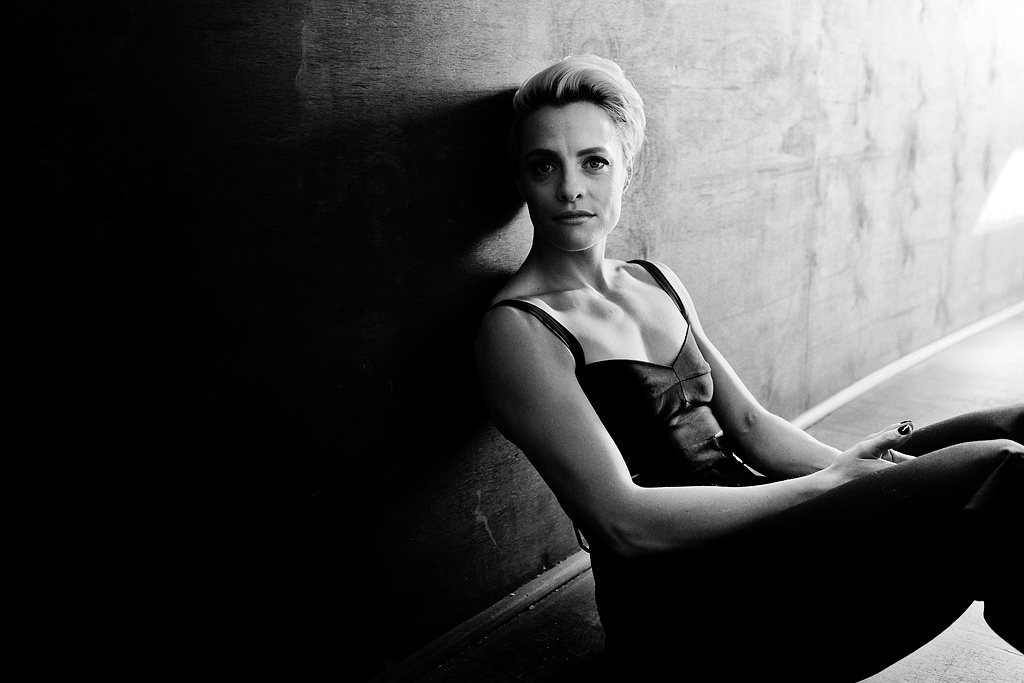
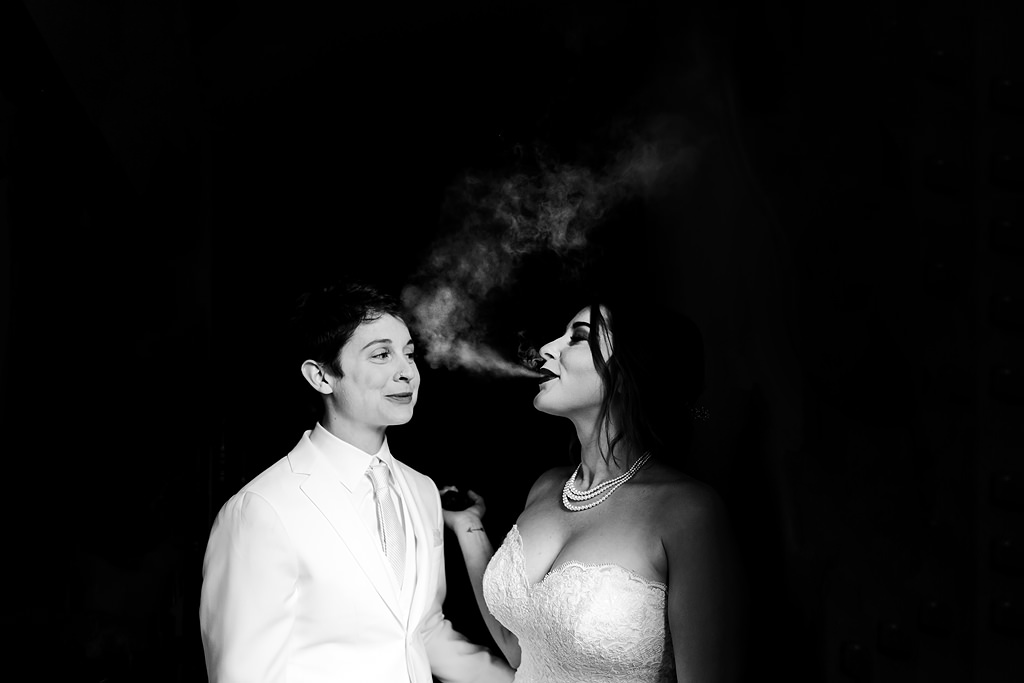
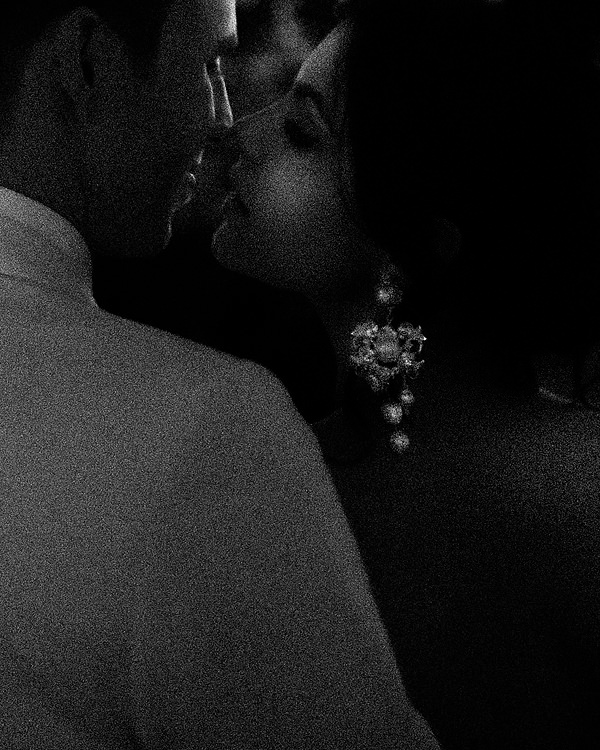
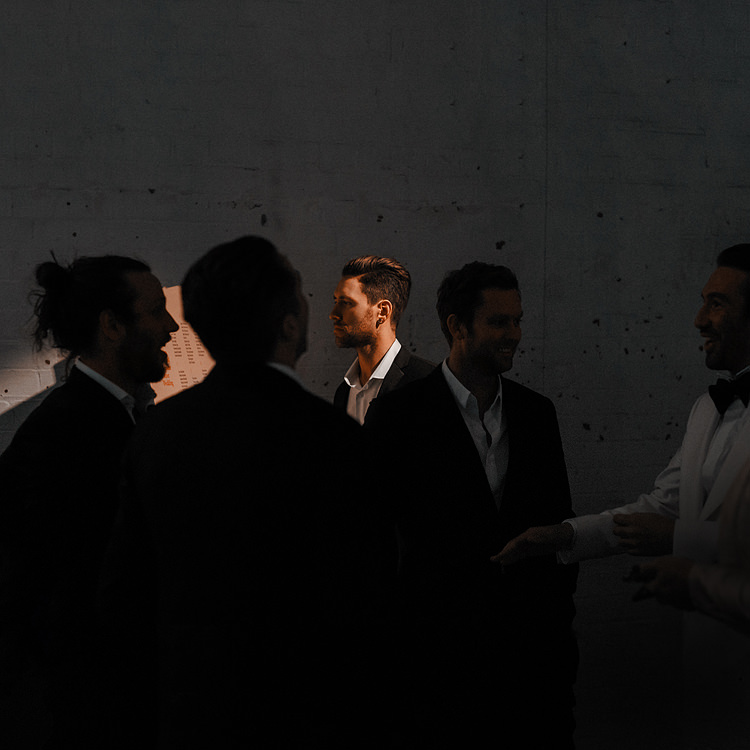
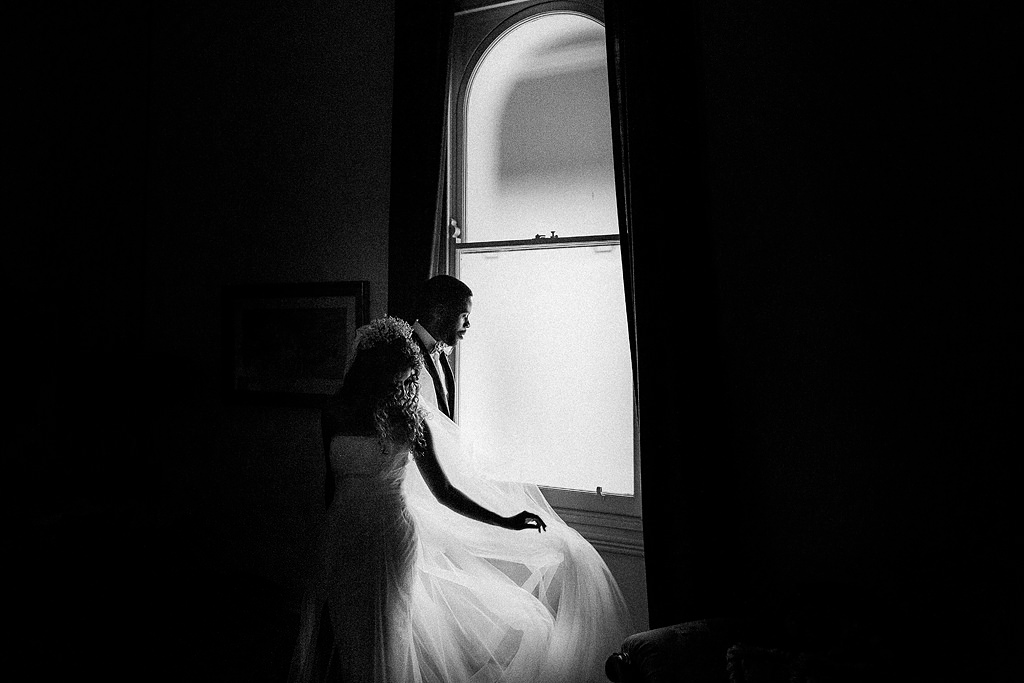
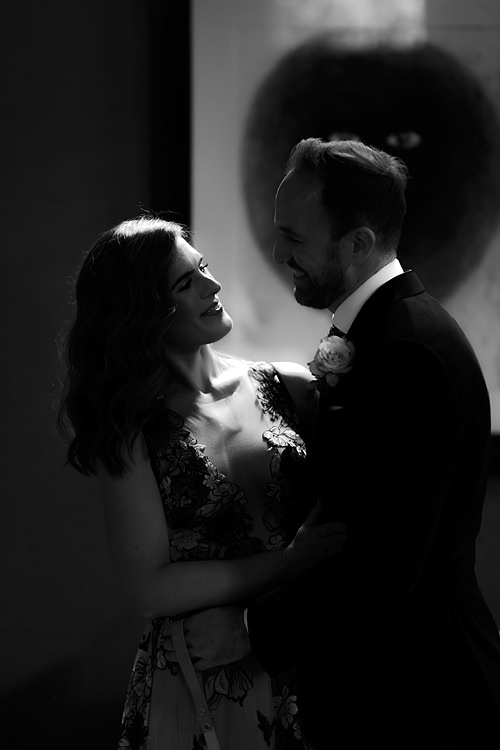
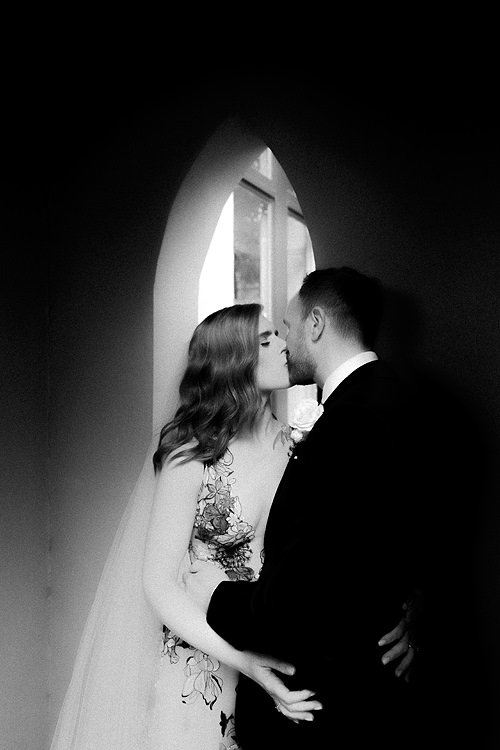
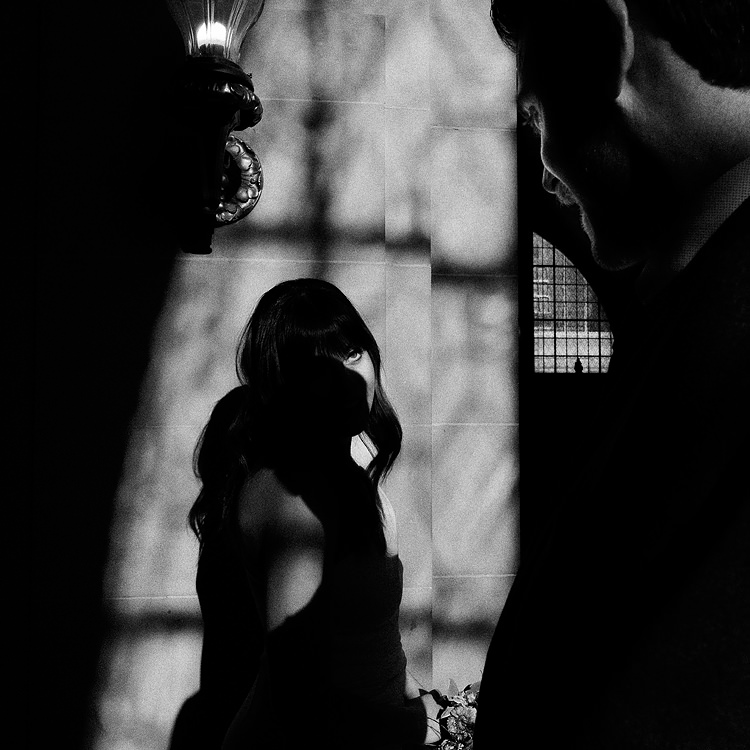
1. Find chiaroscuro light.
This is the MVP (most valuable player) of the dark and moody vibe. Chiaroscuro is, to put it simply, highly contrasted light and shade. This can be found in the most unlikely of situations. Hot tip – anywhere that you have a room with a small window – the smaller the better – you’ve got yourself an instant kit for Chiaroscuro light.
Expose for the highlights, and you’re good to go. See also – this Provenance Wines wedding.
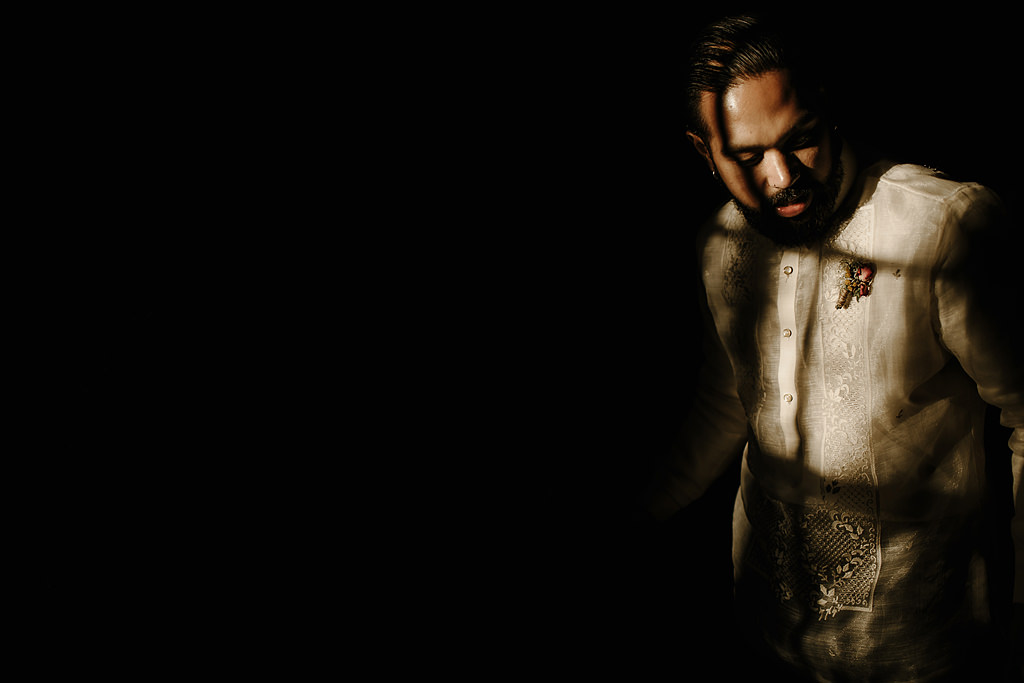
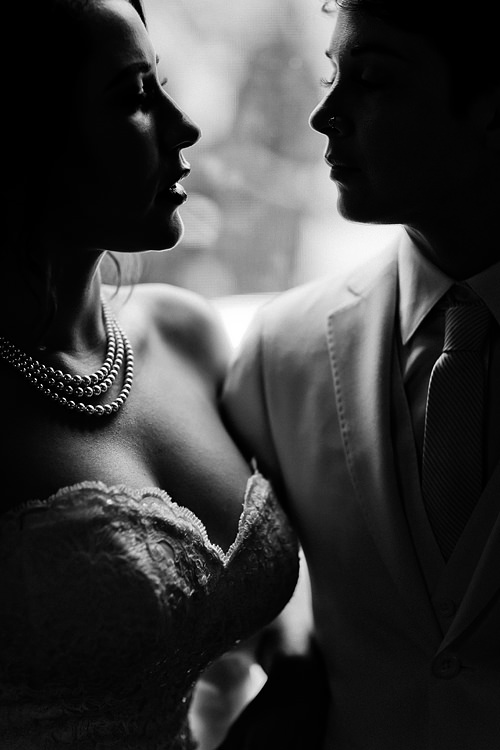
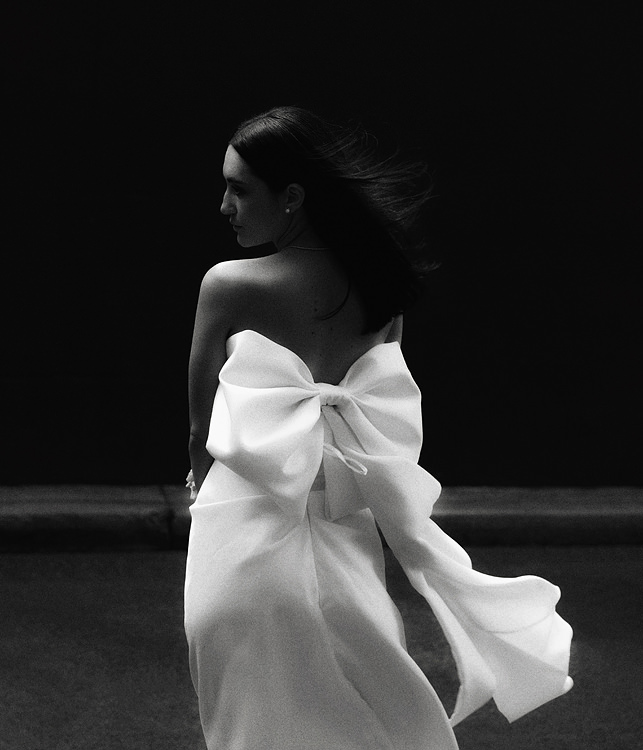
2. Skin is king.
Keep orange out, and flattering tones in. Per the Reddit thread up above, we should probably be more worried about making our couples look like they’ve swallowed a stick of uranium or a bag of carrots than them being too moody necessarily: this means that flattering tones and flattering light are a higher priority than whether the image is too light or dark per-se.
A great way to stay on top of this is to constantly reference where we got colour tones “right”. And for me, that’s any of either cinema, or great classic photo books with anyone shooting on film.
Calibrating our eyes to the skin tones of what we see on Instagram is a bad, bad idea.
Slim Aarons on the other hand? Holy basted badger-balls.
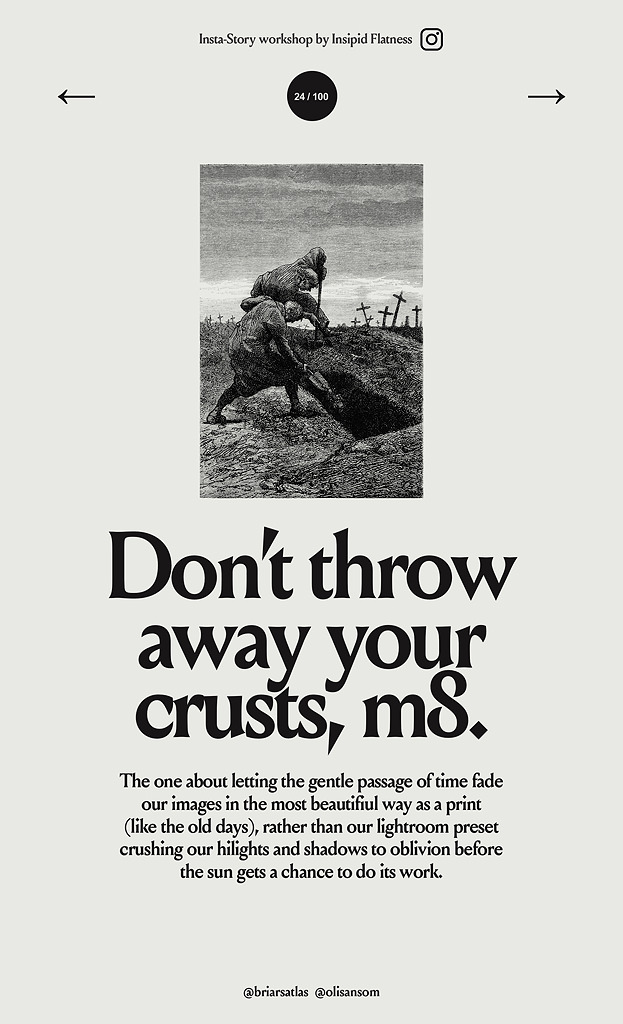
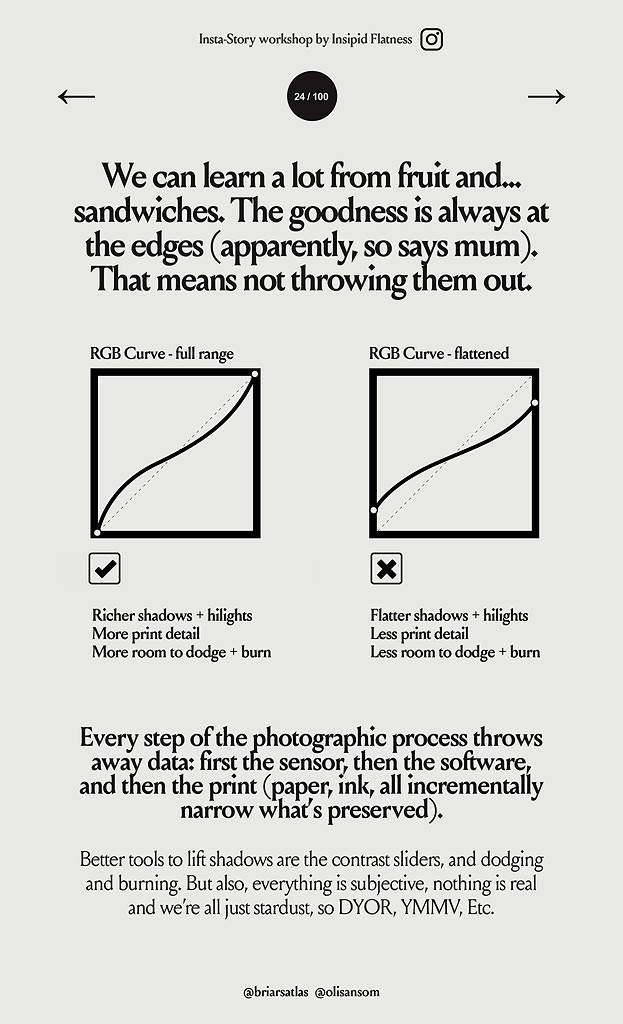
3. Keep RGB curve tweaks to a minimum, because the tool itself in Lightroom sucks
We want to have full, or nearly-full, black and white point in your image to give us the most room to play with in nailing a moody vibe in post-production.
This means that our image has a full range of information in it (as much detail in the darks and lights as possible), that translates to a detailed print. Any adjustments we make to the RGB “S” curve in Photoshop or Lightroom, immediately throws away information in the image: so tampering with it has to be a delicate exercise.
There was a bit of a movement towards really flat shadows some years ago, but my experience with Lightroom these days is that it turns an image to mud, really quick. If the aim is to get dusty shadows or muted highlights, generally that’s better achieved by instead selectively dodging and burning: this way you can raise or lower their brightness, while still keeping as much pure shadow and pure highlight in the image where it makes sense for them to be.
So using the RGB curve graph is not the best way to raise shadows or mute highlights, as it’s not a well developed tool inside Lightroom at all (maybe it will be better in later years to come – Capture One’s version works much better). A good way to think about why we don’t use RGB curves to mute our lights or darks is to imagine trying to cook a souffle in a crematorium.
By keeping the shadows rich, we can selectively dodge them out later while maintaining a solid black-point that will print out beautifully.
4. Spot clean the image
Dark and moody wedding images, if they’re shot in lower-light situations, inherently have a lot less highlights in them. That means the highlights that are there, stick out a little louder than they would otherwise, and can quickly dilute the power of an image.
This means that in order to have a beautifully powerful dark and moody image, we need to exercise a high level of care in spotting our image, and dodging and burning it: you can read about both of those in this post about photo editing.
Spotting is the gentle art of removing unnecessary bits of information in the image – this could be a rogue hi-light or a rogue fly sat perfectly in the middle of someones forehead.
The aim is to clear out unnecessary hi-lights. “If it isn’t lifting it up, it’s bringing it down”.
Here’s why this is also important:
Photography isn’t the art of freezing reality, it’s the art of telling a story through exclusion. Editing an image in photoshop (delicately) is no different than selectively framing things out in the moment. The unique thing about photography is that it “bakes in” things in the frame that our eyes wouldn’t process if it were, say, video. This means that in order to be MORE #authentic, we actually need to remove these things, as they’re causing an unnatural distraction to us and hold our attention more than they did in reality once they’ve been freezed into an image.
I know this sounds incredibly wanky, but spotting is the gentle art of bringing back the purity of how a moment actually felt, by fixing the things our cameras unnecessarily froze into the frame.
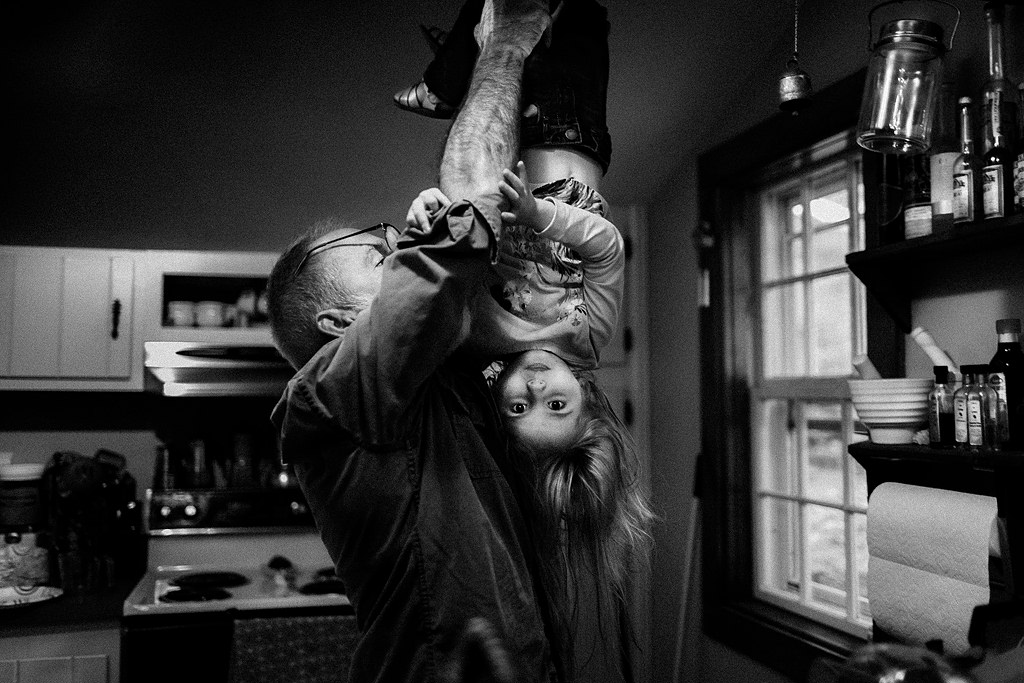
Here’s an extreme example first, and a not-so-extreme example second.
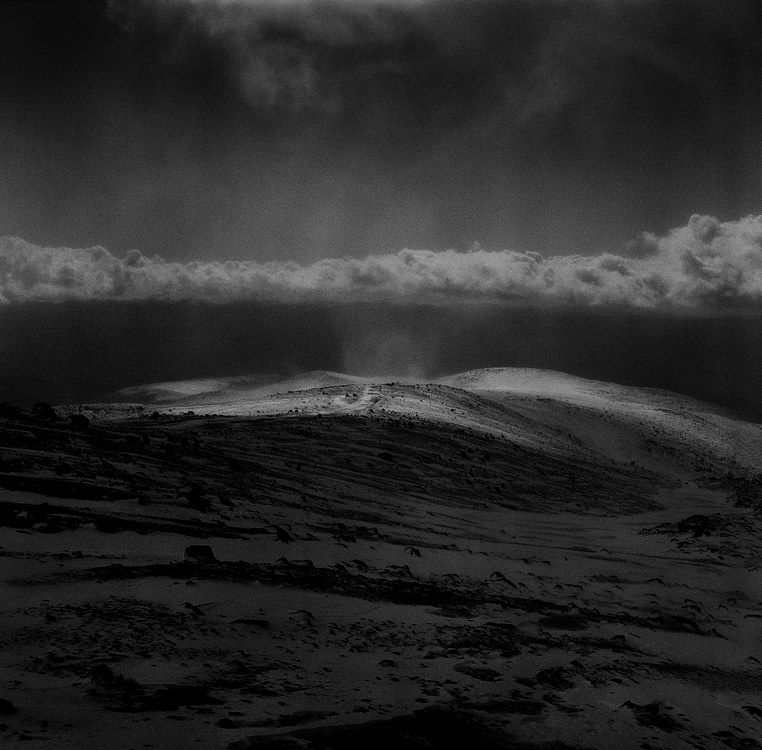
5. Take notes from painters
Gain a wide vocabulary in painterly tones, from the source. My two favourite painters are Jeffrey Smart and Zdiszlaw Beksinski – and in a roundabout way they inform my love of moody tones. Dig into some books and find some painters you align with.
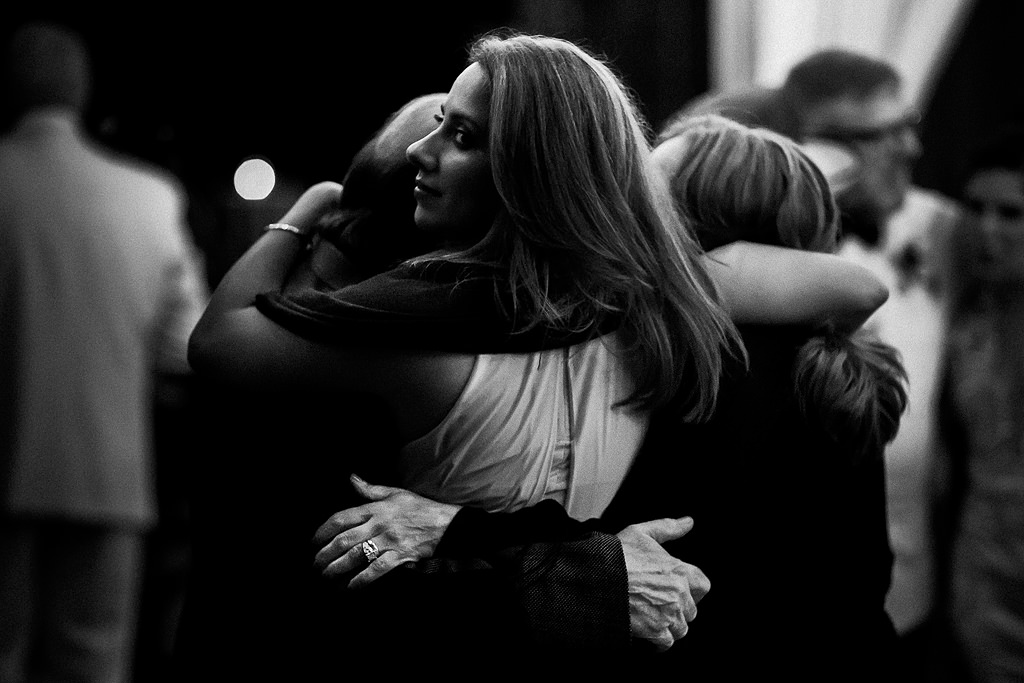
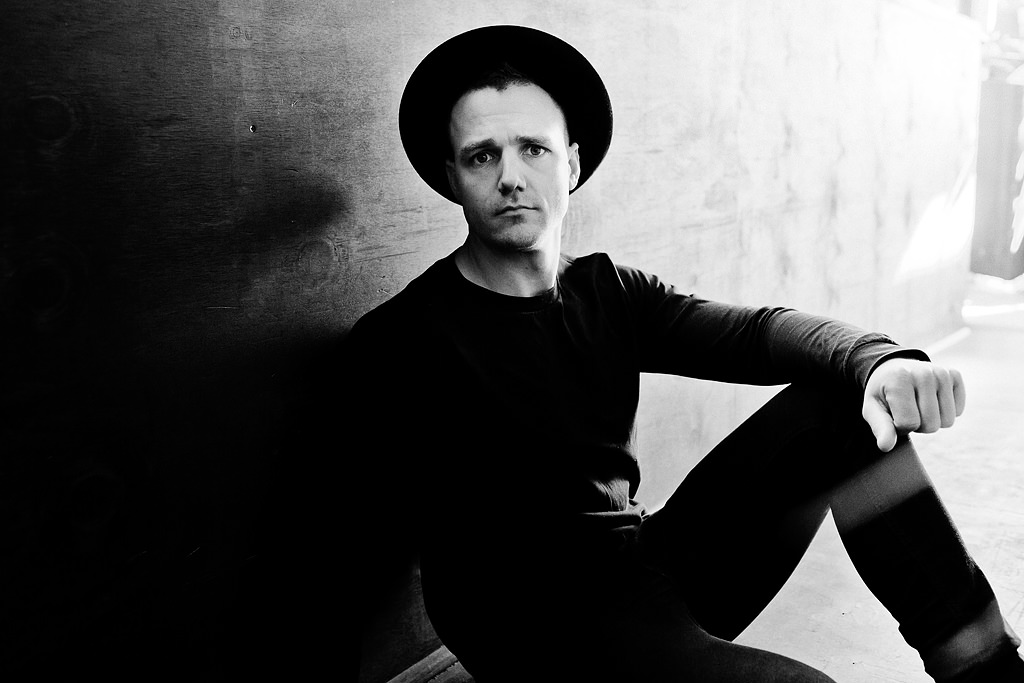
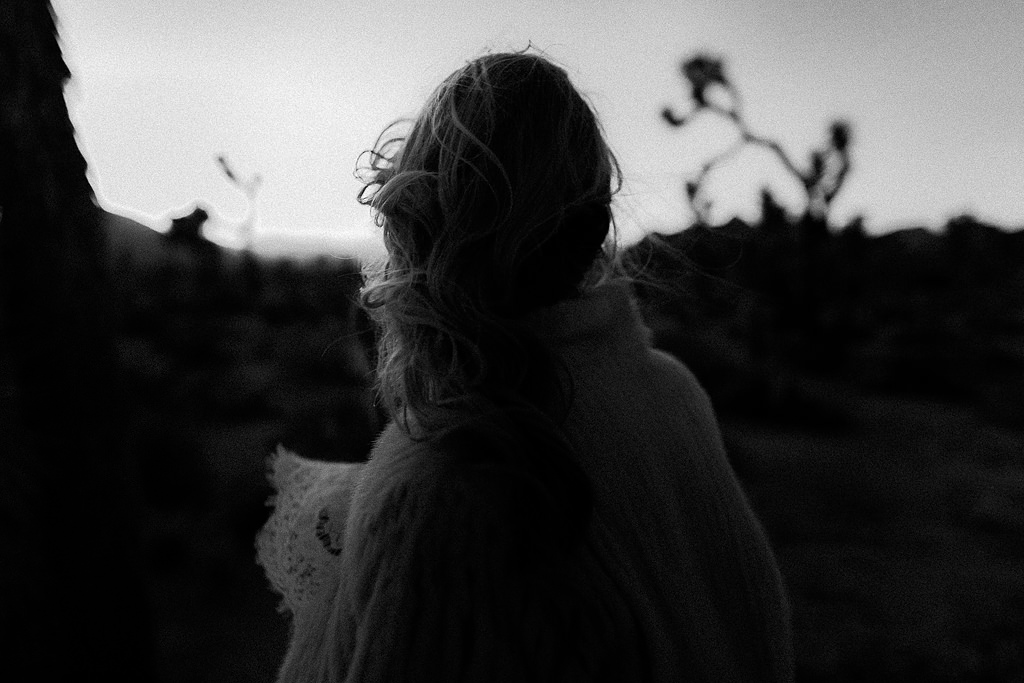
Some more of my favourite dark and moody wedding photos.


Learn more about creating dark and moody wedding photos.
Follow my free wedding photography workshop series, or make an enquiry about joining my mentor program.


